
This post may contain affiliate links. If you buy through links on this page, we may earn a commission at no extra cost to you.
As an Amazon Associate I earn from qualifying purchases.
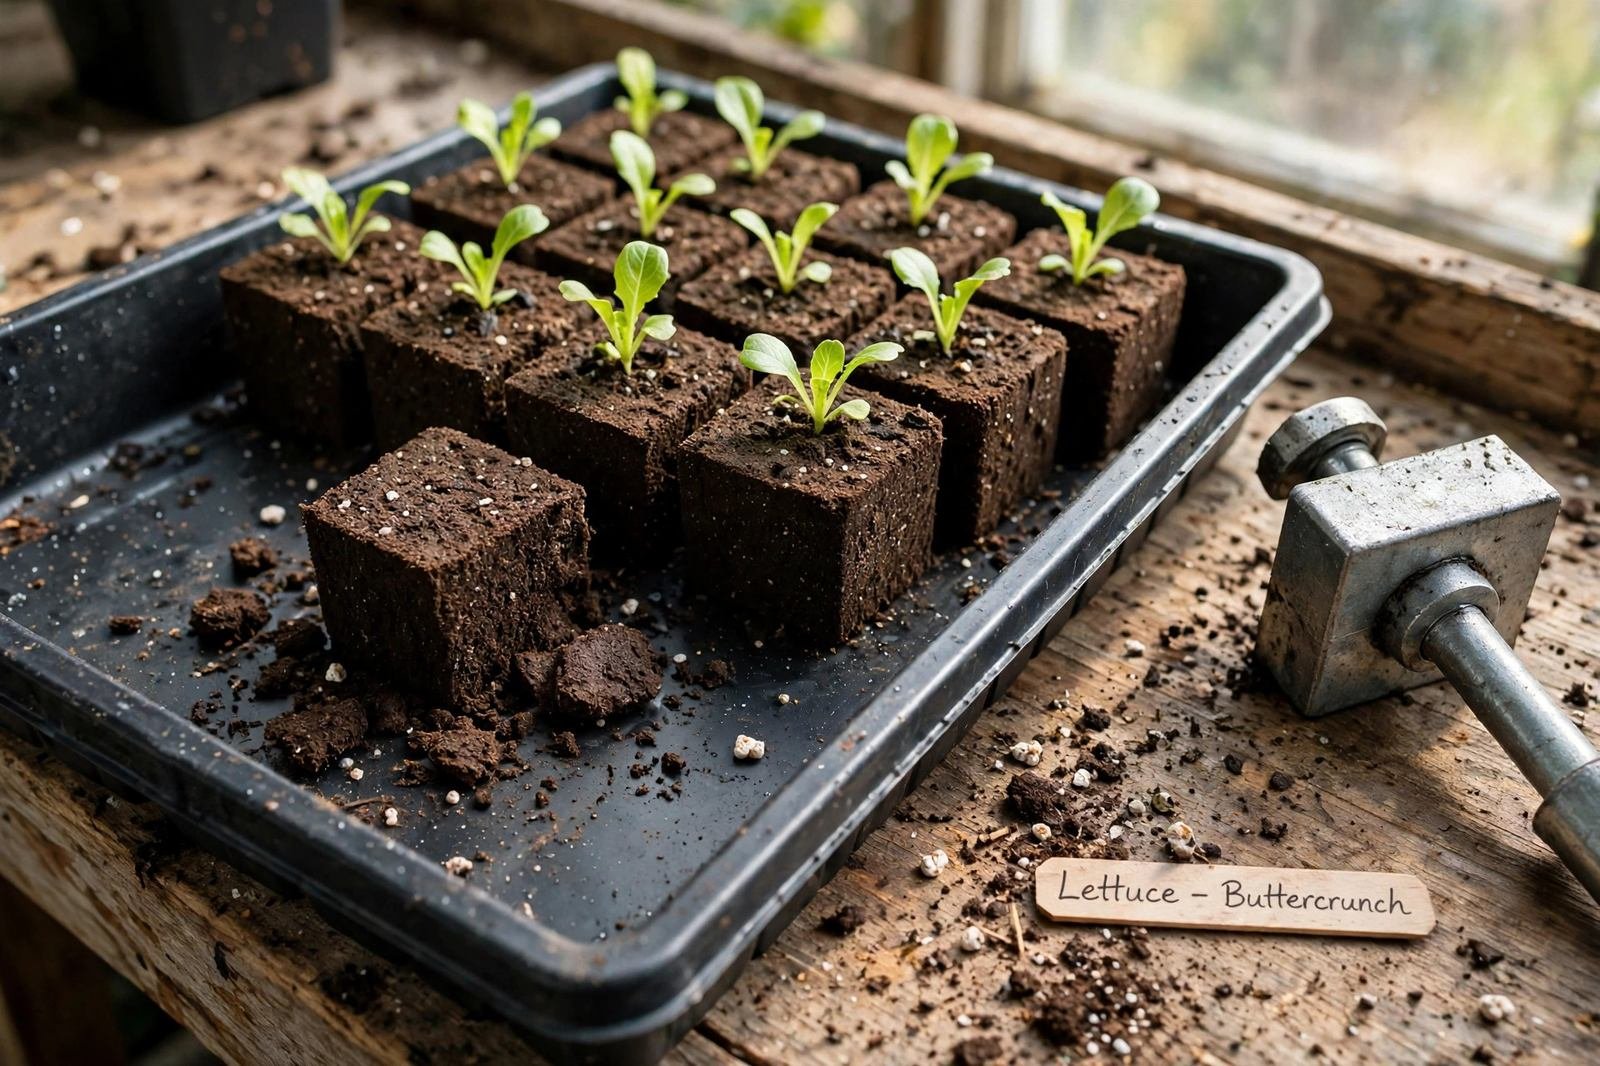
A soil block is a compressed cube of damp seed-starting mix with a seed pressed into the top, and no plastic container is involved. A hand tool called a soil blocker forms them, most often two inches on a side. Plastic cells are the familiar route: fill, sow, water, and pop the plug out at transplant time. We have grown seedlings both ways, and this comparison covers air pruning, transplant shock, the real cost math, and exactly how much mix a batch of blocks takes, so you can pick the system that fits your garden.
The two systems side by side
| Soil blocks | Plastic cells | |
|---|---|---|
| Container | None: the compressed mix is the pot | Plastic cell sheets or packs |
| Air pruning | Roots stop at the block edge instead of circling | Roots circle the cell unless you transplant on time |
| Transplant step | Plant the whole block; roots stay undisturbed | Pop the plug out; some root disturbance |
| Start-up cost | Blocker tool plus mix (see the math below) | Trays and inserts or cell packs |
| Mix use | About 15 quarts of damp mix per 100 two-inch blocks | Roughly 5 to 6 quarts per 72-cell insert |
| Storage | Blocker hangs on a hook; nothing stacks | Trays stack, inserts nest |
| Learning curve | Mix must be the right dampness or blocks crumble | Fill, sow, water: forgiving |
| Best for | Heavy transplanters who hate root shock | Beginners and anyone who wants the simple path |
How soil blocks work
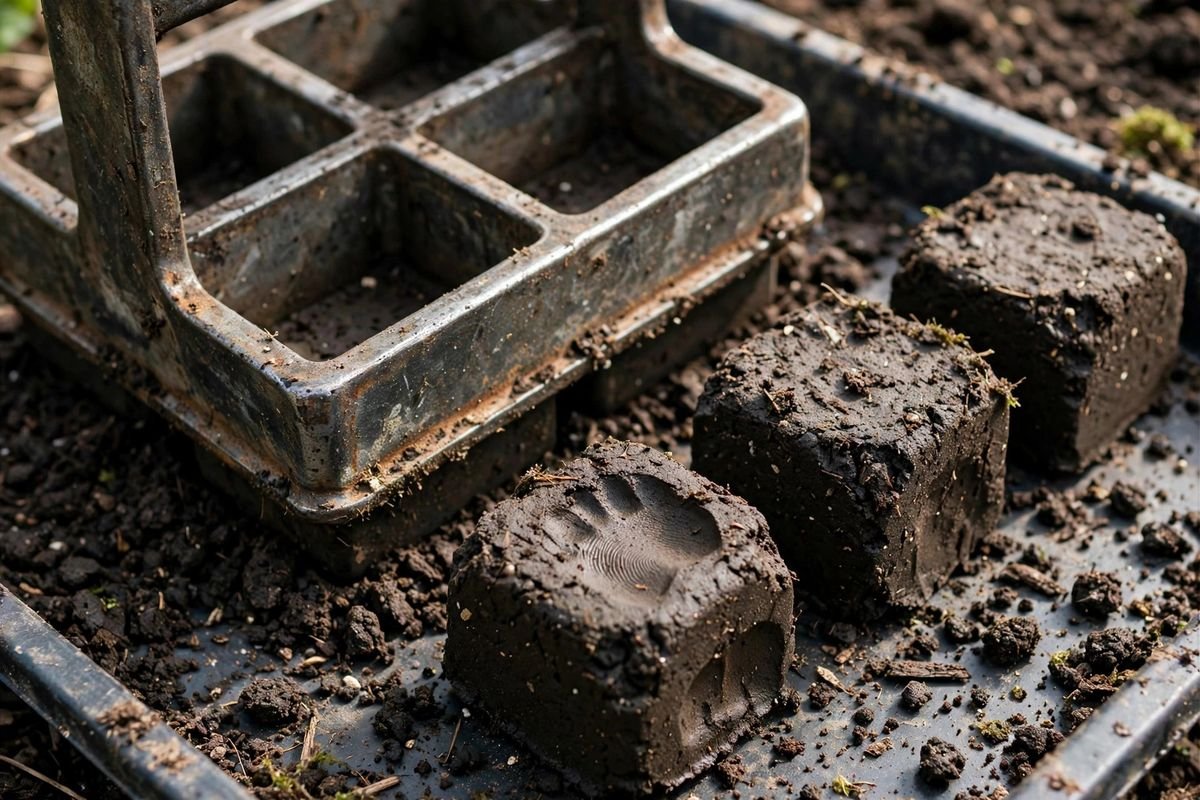
A soil blocker is a hand press, usually metal or sturdy plastic, that stamps damp mix into cubes, each with a small dimple on top for the seed. The mix is the whole trick: it must be wet enough to hold together when squeezed, like a wrung-out sponge, but not dripping. Too dry and the blocks crumble when you lift them; too wet and they slump into pancakes. Because there is no container wall, roots grow to the block’s edge, meet air, and stop instead of circling the way they do in plastic. Gardeners call this air pruning, and it means a block-grown seedling goes into the ground with its root tips facing outward, ready to grow. If you want to try the method, look at soil block makers and start with the standard two-inch size, which suits most vegetable seedlings.
How plastic cells work
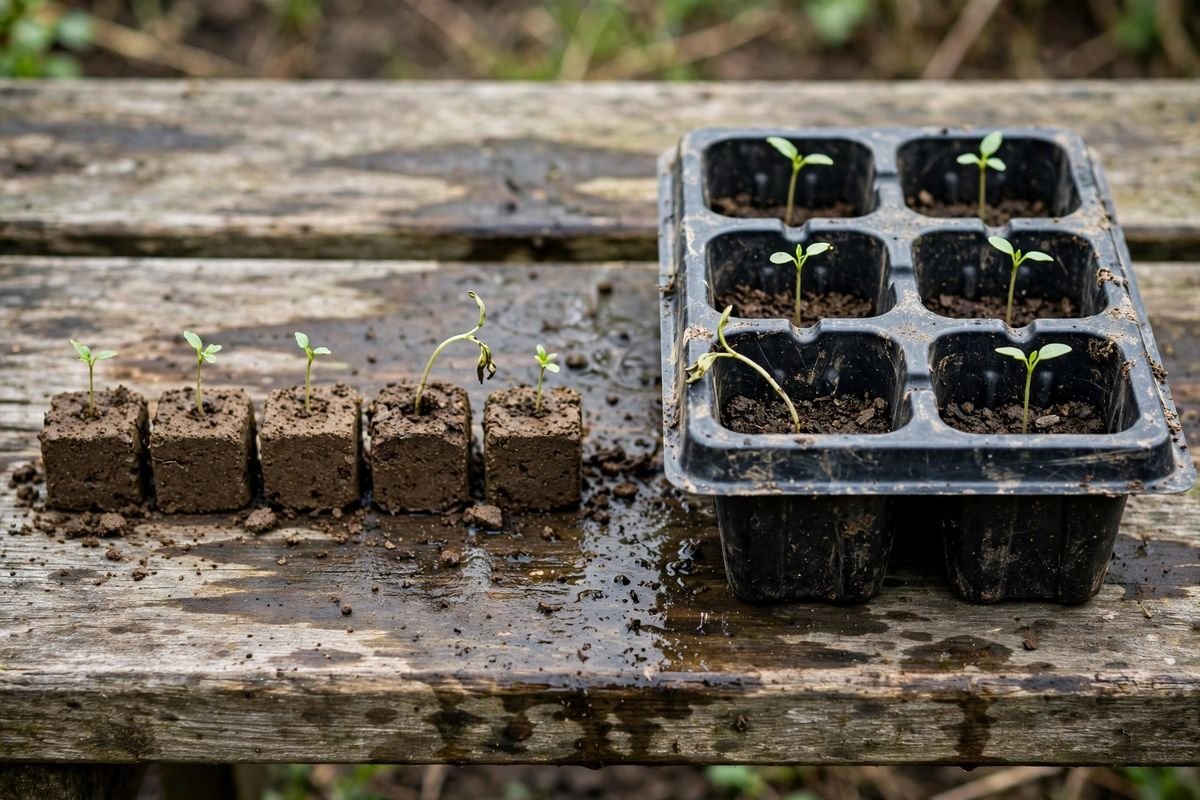
Plastic cells are the system most gardeners start with, and there is nothing wrong with that. They are forgiving: the mix can run dry or soggy and the cell still holds its shape, and trays stack neatly on a shelf between seasons. The trade-off sits below the soil line. Roots hit the plastic wall and circle, and a seedling left too long in its cell spends its first week in the ground unwinding instead of growing. Transplanting on time erases most of that penalty, which is why cells still suit beginners and busy schedules. Our comparison of reusable versus disposable seed trays covers which plastics survive year after year.
Pros and cons
Pros of soil blocks
- No transplant shock: the whole block goes into the ground
- Air pruning gives a fibrous, outward-facing root system
- Zero plastic waste in the seed-starting routine
- Blocks sit close together, so trays hold more plants
Cons of soil blocks
- Blocks crumble if the mix is too dry or too coarse
- Takes practice to press consistent blocks
- Blocks dry out faster than cells and need watching
Pros of plastic cells
- Forgiving for beginners: hard to get wrong
- Trays and inserts are cheap and stack for storage
- Cells hold moisture longer between waterings
Cons of plastic cells
- Roots circle if transplanting runs late
- Popping plugs out disturbs the root ball
- Thin plastic cracks and becomes waste
Mix volume: our math for 100 blocks
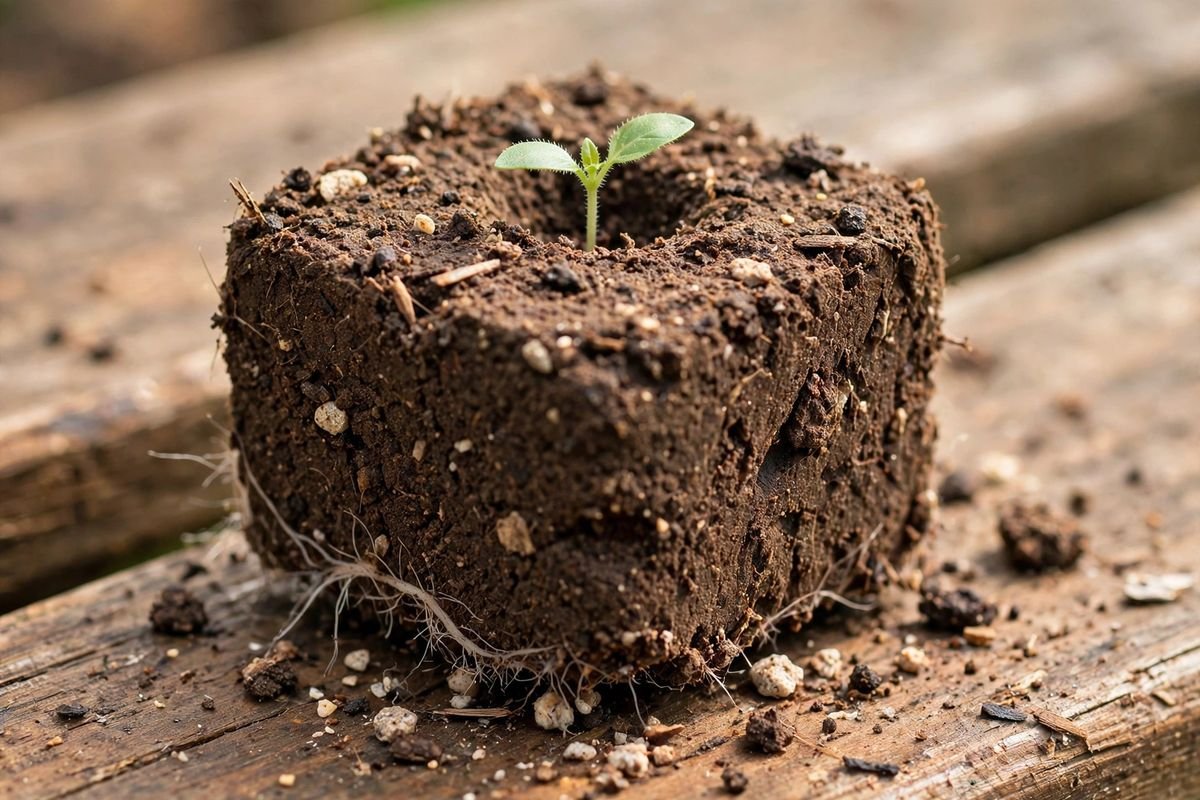
A two-inch block is 2 x 2 x 2 inches, or 8 cubic inches. One hundred blocks need 800 cubic inches of damp mix. A quart holds 57.75 cubic inches, so 800 divided by 57.75 comes to about 13.9 quarts, which we round to 14 quarts, or three and a half gallons. We add roughly ten percent for the mix that falls apart during pressing and the crumbs swept off the bench, which brings a 100-block batch to about 15 quarts of damp mix. A standard 8-quart bag of seed-starting mix therefore covers about 50 blocks; a 16-quart bag covers the full hundred with a little to spare. By comparison, a 72-cell insert holds roughly five to six quarts.
The cost math, with assumptions stated up front: assume a two-inch four-block soil blocker costs about $30, a common retail figure we see, and that it lasts indefinitely. A tray-and-insert setup runs about $3.50 a season by our math (a $10 tray over five seasons plus a $3 insert sheet over two). Thirty divided by 3.50 puts the blocker’s break-even near the ninth season of steady use: sooner if you start several hundred seedlings a year, later if you start a single tray. Soil blocks earn their keep on transplant shock and zero plastic waste, not on price. For mix choice, see our guide to the best seed starting mixes; block recipes often blend in coconut coir, and our coco coir versus peat moss comparison explains the trade-offs. Block-grown tomatoes move outside on the same schedule as any indoor starts. Use your local frost dates and regional planting guidance — not your USDA hardiness zone alone — to choose planting dates.
The verdict
Choose soil blocks if you transplant dozens of seedlings a season and want zero root disturbance, if you want to cut plastic out of your seed starting, or if you enjoy the hands-on ritual of pressing blocks.
Choose plastic cells if you are starting seeds for the first time, if you sow in small batches through the season, or if you want the most forgiving routine when life gets busy.
Troubleshooting common problems
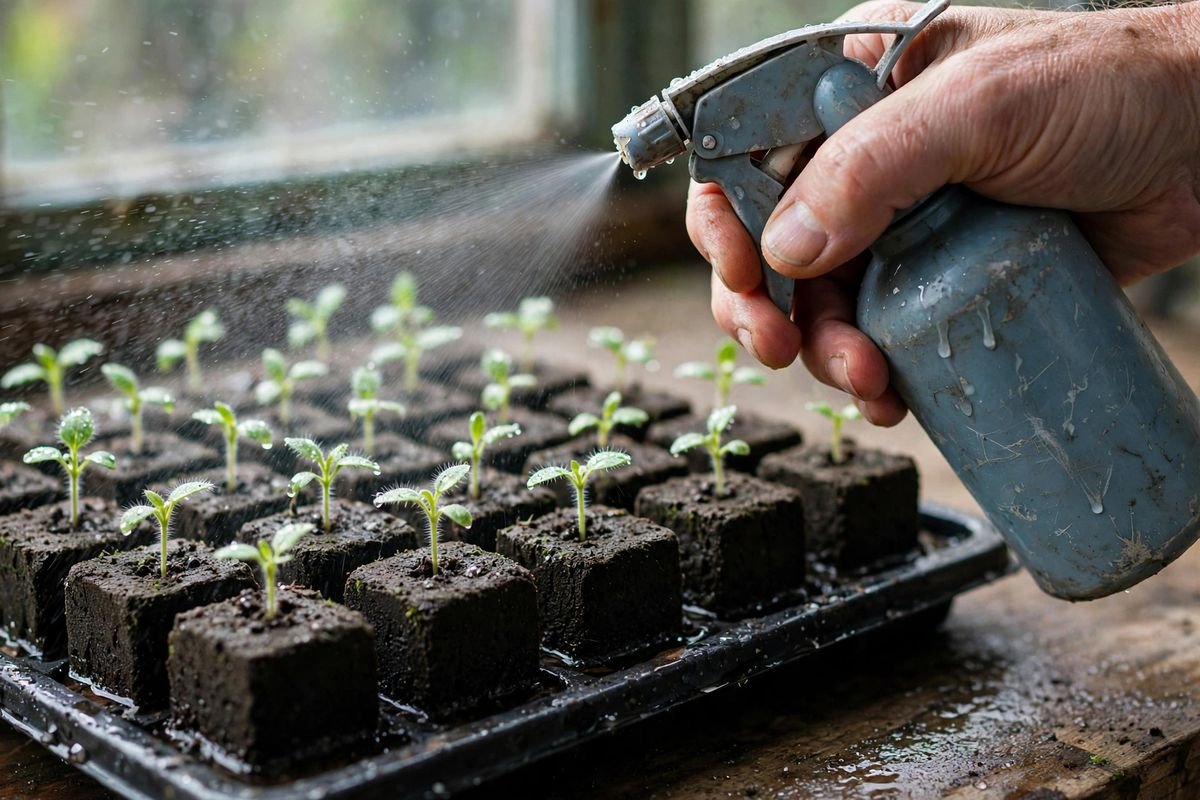
Blocks crumble when lifted: the mix was too dry at pressing, so spritz the batch and press the next ones wetter. Blocks slump flat: the mix was too wet, or it lacks the fine particles that bind, so mix in more peat or coir. Seedlings stall in blocks: blocks hold less food than a big cell, so feed with half-strength liquid fertilizer once true leaves appear. White mold on the surface: improve air flow and let the surface dry between waterings.
Sources & further reading
- University of Minnesota Extension, “Starting seeds indoors”: https://extension.umn.edu/planting-and-growing-guides/starting-seeds-indoors
- North Carolina State Extension, Extension Gardener Handbook, Chapter 13, Propagation: https://content.ces.ncsu.edu/extension-gardener-handbook/13-propagation
- Penn State Extension, “Seed and seedling biology”: https://extension.psu.edu/seed-and-seedling-biology