
This post may contain affiliate links. If you buy through links on this page, we may earn a commission at no extra cost to you.
As an Amazon Associate I earn from qualifying purchases.
Garden tools pick up more than dirt. Soil, sap, and plant juice can carry bacteria and fungal spores from one plant to the next, and a dull, rusty blade tears stems instead of cutting them clean. Cleaning and disinfecting your tools stops that spread. You don’t need a fancy setup. A stiff brush, a bucket of soapy water, a basic disinfectant, and a light oil will handle almost everything in a home garden.
Here’s the short version. Knock off soil, wash with soapy water, and dry the tool fully. Disinfect the blade when you’ve cut anything that looked diseased, and do it between plants so you don’t carry the problem down the row. Finish with a thin coat of oil on metal and wood. If a blade needs sharpening, sharpen first and oil last.
The Basic Cleaning Kit
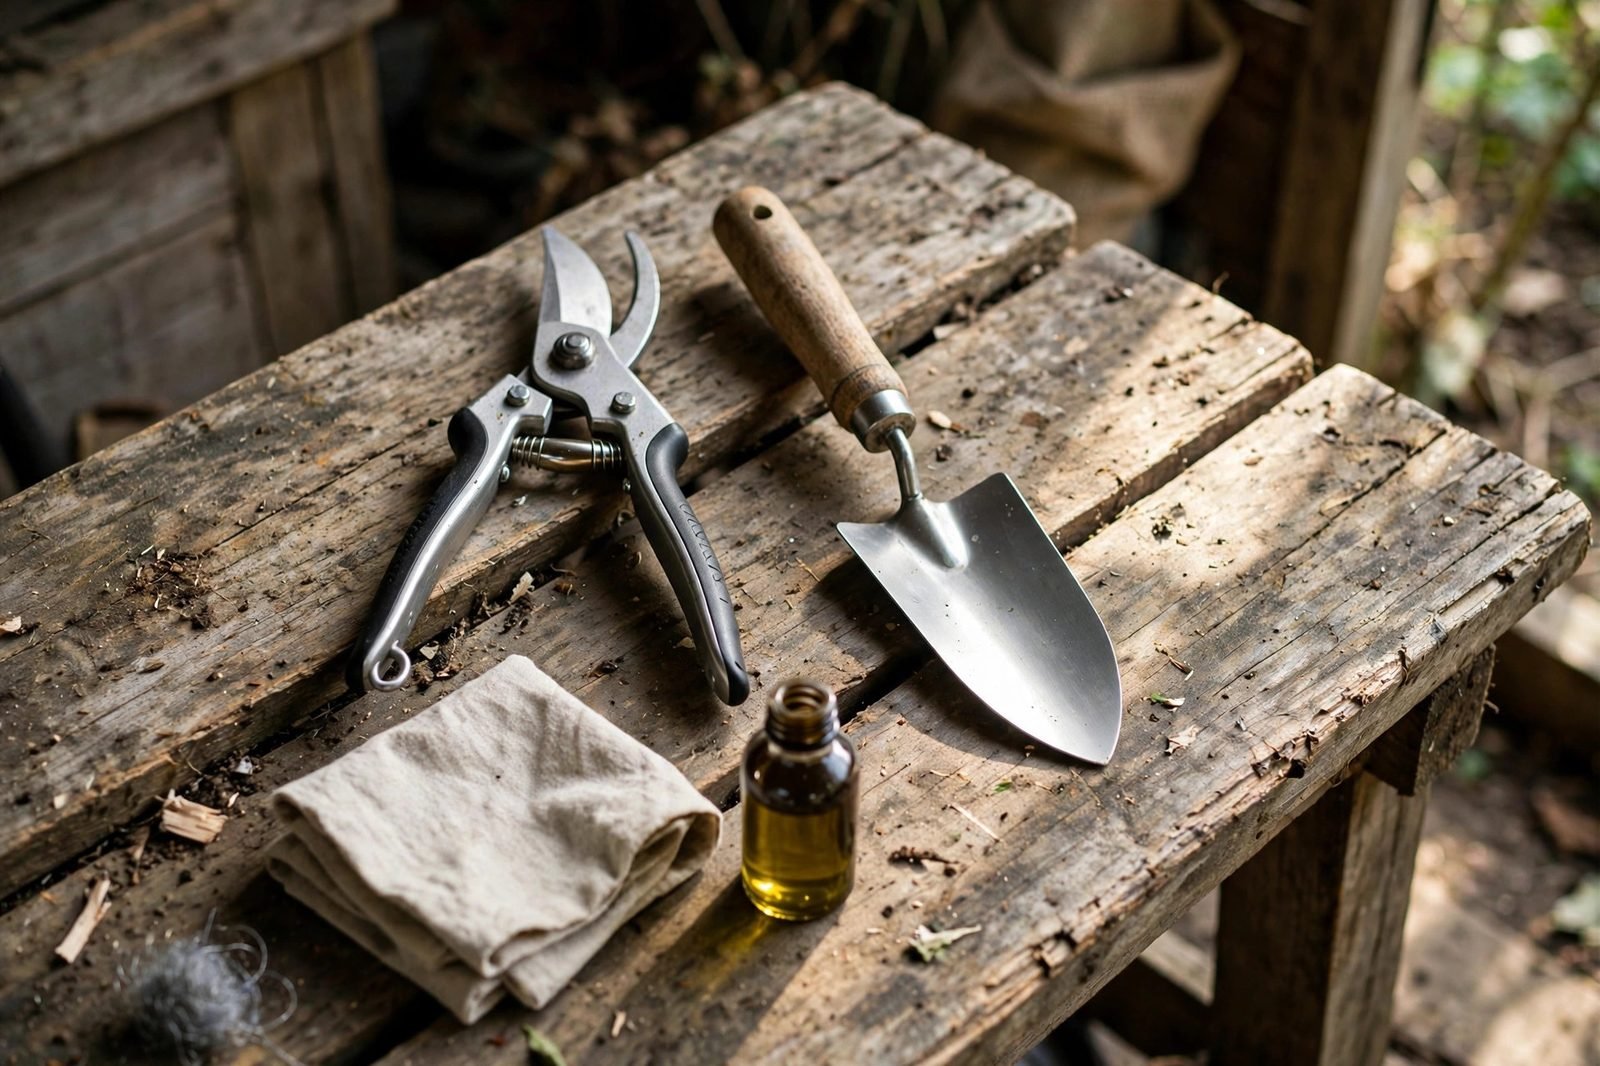
You likely own most of what you need already. Gather a stiff brush, a bucket, dish soap, clean rags, steel wool or a scouring pad for rust, and medium-grit sandpaper. For disinfecting, common choices include household bleach diluted in water, rubbing alcohol, or a household disinfectant spray. For the final step, keep a general-purpose tool oil or camellia oil on hand. Keep your oiling rag separate from your wash rags so it doesn’t smear grime back onto a clean blade. If you need to restock, brushes, steel wool, and garden tool oil cover the full routine.
Step-by-Step: Clean First, Then Disinfect
Cleaning and disinfecting are two different jobs, and the order matters. Disinfectant can’t do its work through a layer of mud. Always clean first so the blade is bare metal, then disinfect if the situation calls for it. Here’s the sequence we recommend for pruners, trowels, hand forks, and loppers.
1. Scrape and Wash Off Soil and Sap
Start by knocking off loose soil with a stiff brush or the edge of another tool. Caked mud holds moisture against the metal, and that moisture is what invites rust. For sap on pruner blades, a little soapy water and patience usually loosens it. Stubborn sap may need a minute of soaking or a gentle scrub with a scouring pad. Once the heavy dirt is gone, wash the whole tool in a bucket of warm, soapy water, rinse it, and check the pivot points and the joint where the handle meets the metal. Grime loves to hide there.
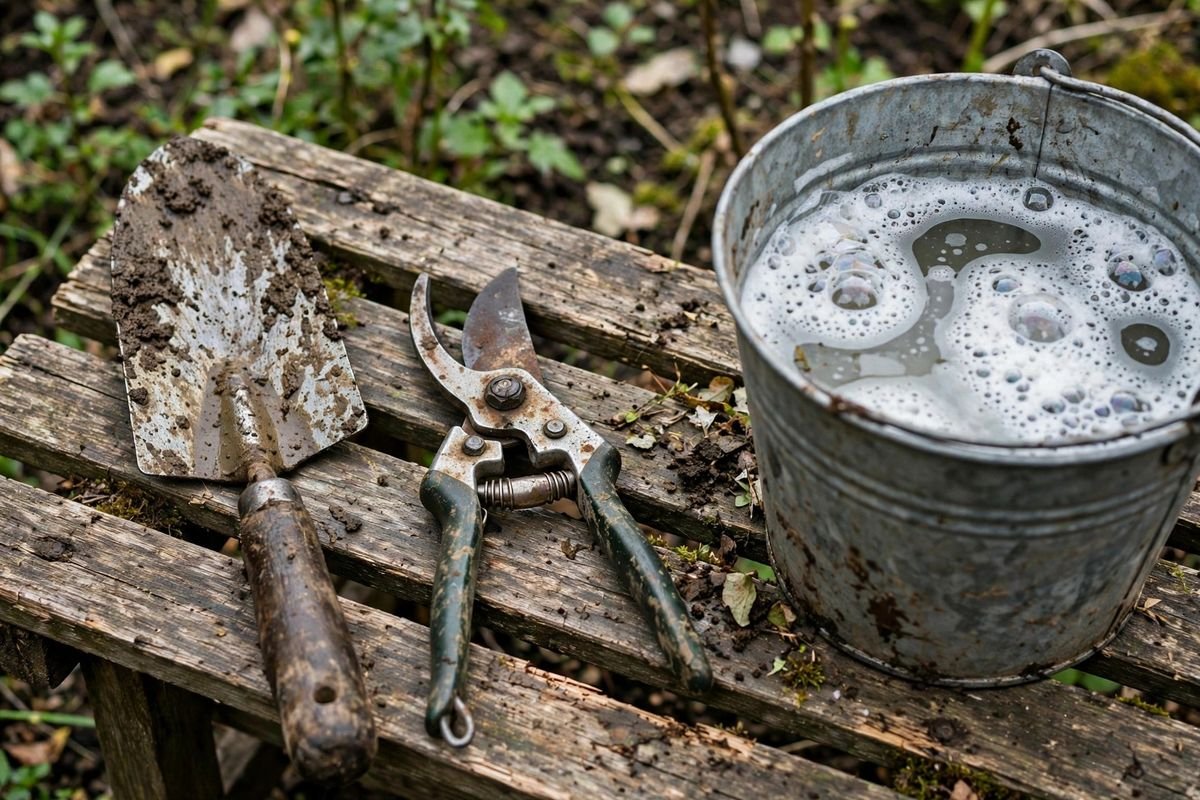
The same wash routine keeps a favorite hand trowel in service for years. If you’re shopping for sturdy basics, our guide to the best hand trowels for gardening explains what to look for in handles and blade materials.
2. Dry the Tool Completely
Wipe every surface dry with a clean rag, and pay attention to hinges, springs, and the inside of the handle. Water left sitting in a joint will start rust faster than garden use ever will. On a warm day, a few minutes in open air finishes the job. On a damp day, bring tools inside or hang them where air can move around them. Never put a wet tool back into a closed drawer or bucket and walk away.
3. Disinfect When Disease Is Suspected
You don’t have to disinfect after every single cut in a healthy garden. The time it really matters is when you’ve pruned out stems that looked sick — black spots, cankers, wilting sections, or mildew-covered growth. In that case, disinfect the blade before you move to the next plant, and ideally between cuts on the same plant if you’re removing several diseased stems. That one pause can be the difference between saving a shrub and spreading the problem to everything around it.
Standard extension guidance generally offers a few workable options. A diluted bleach solution is inexpensive and widely recommended, but it can corrode metal if tools soak too long and it’s harsh on skin and clothing. Rubbing alcohol is gentler on blades and convenient in a small spray bottle, though it costs more. Household disinfectant sprays are another option many gardeners keep in the shed. Whichever you choose, follow the product’s label directions and give the blade a rinse or wipe and a coat of oil afterward, since disinfectants left on metal can encourage rust.
4. Oil Metal and Wood Handles
Once the tool is clean and dry, put a few drops of oil on a rag and wipe a thin film across the blade, the hinge, and any exposed metal. You want a light sheen, not drips. Wipe off the excess. For wood handles, a light coat of boiled linseed oil rubbed in with a rag keeps the wood from drying out and cracking. Let it soak in, then buff off what remains on the surface so the handle isn’t slippery. Metal parts and wood parts both last longer with this small bit of attention a few times a season.
5. Sharpen First, Then Oil
Here’s an order detail that’s easy to get backwards. If a blade needs sharpening, do the sharpening before the final oiling. A file or whetstone works better on clean, dry metal, and sharpening after oiling just wipes your fresh oil film away while coating your stone or file in grime. Clean, disinfect if needed, sharpen, then oil as the last step. For a full walkthrough, see our guide on how to sharpen pruning shears. And if your old pruners are beyond saving, our roundup of the best pruning shears for home gardeners covers what separates a lasting pair from a disposable one.
A Worked Example: Mixing a Small Batch of Bleach Solution
Extension guidance often describes a bleach disinfectant as a 1-in-10 dilution, meaning one part household bleach to nine parts water. Let’s work through what that looks like for a common spray bottle so the numbers are clear, using plain assumptions you can adjust.
Assumptions: We’re filling a 1-quart spray bottle, which holds 32 fluid ounces total. A 1-in-10 dilution means bleach makes up one-tenth of the final mix and water makes up the other nine-tenths.
The math: 32 fl oz ÷ 10 = 3.2 fl oz of bleach. Pour 3.2 fl oz of bleach into the bottle, then top it up to the 32 fl oz line with water (that’s about 28.8 fl oz of water). That’s the full batch.
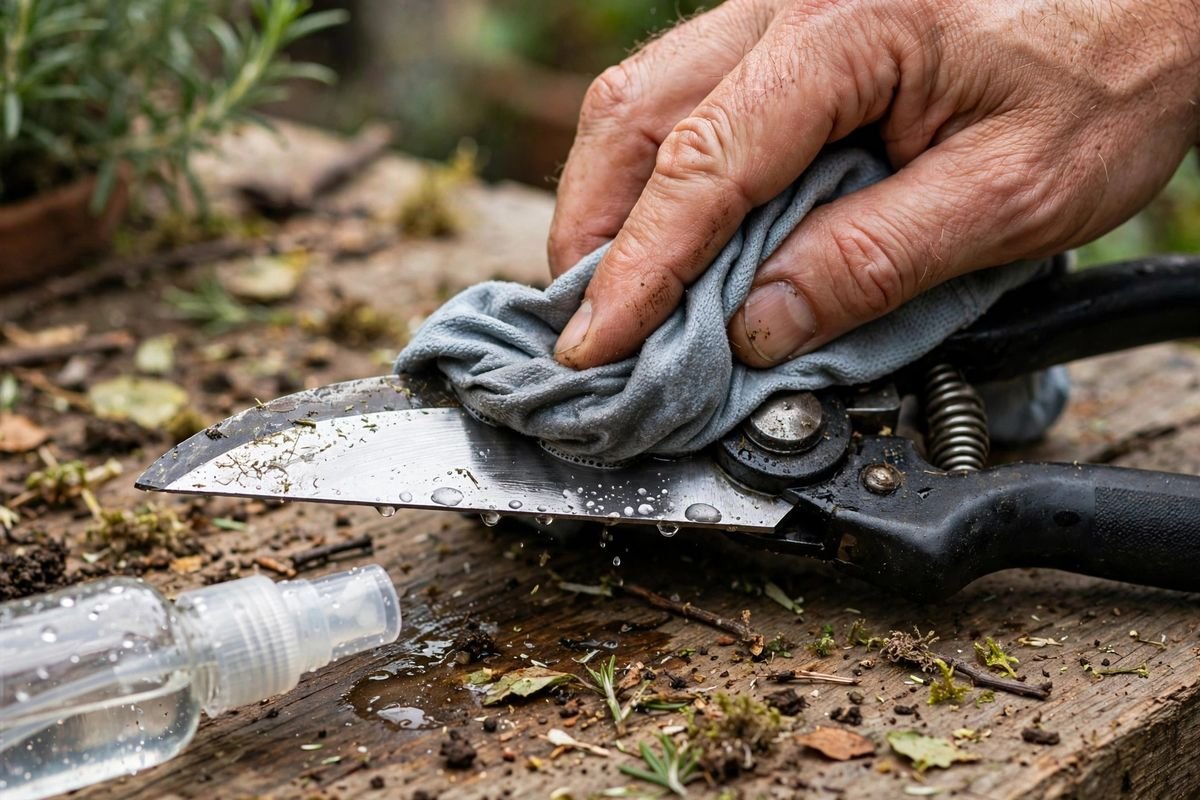
To use it, spray or wipe the solution onto the cleaned blade so the surface stays visibly wet for about 1 minute of contact time, then wipe it off, rinse if the product label calls for it, dry the blade, and finish with your thin coat of oil. Make only what you’ll use that day, wear gloves, work where there’s airflow, and never mix bleach with other cleaners. If you’d rather skip mixing altogether, alcohol in a small spray bottle is a simpler grab-and-go option many gardeners prefer for quick between-plant wipe-downs.
When to Disinfect vs. When Cleaning Is Enough
For everyday digging and deadheading healthy plants, a good wash and dry is plenty. Reach for disinfectant in these situations:
- After cutting out stems, leaves, or branches that showed signs of disease
- Before moving from a sick plant to a healthy plant of the same type
- After working in soil where plants recently died from wilt or rot
- When you borrow tools, or lend yours out, and they come back dirty
- At the start of spring, as part of a once-over before the season gets busy
Think of disinfection as a targeted step for risky moments, not a chore after every snip. That keeps the routine realistic, so you’ll actually stick with it.
Removing Light Rust
Rust usually starts as small orange speckles on a blade that sat damp. Caught early, it’s simple to remove. Scrub the spot with steel wool or a scouring pad, working in one direction along the blade. For heavier patches, wrap medium-grit sandpaper around a small block and rub until you reach clean metal. Wipe away the dust, wash and dry the tool, then oil it right away — freshly exposed metal will rust again quickly if left bare. Deep pitting that weakens a blade is a sign the tool may be near the end of its life.
Storing Tools So They Stay Clean
Storage does half the work of keeping tools in good shape. Hang pruners, trowels, and loppers on a wall or pegboard where air can circulate. A bucket of dry sand mixed with a little oil is a classic trick for hand tools: plunge the blade in and out a few times to clean and coat it in one motion. Whatever method you pick, store tools clean, dry, and off a damp floor, with sharp edges guarded or facing the wall.
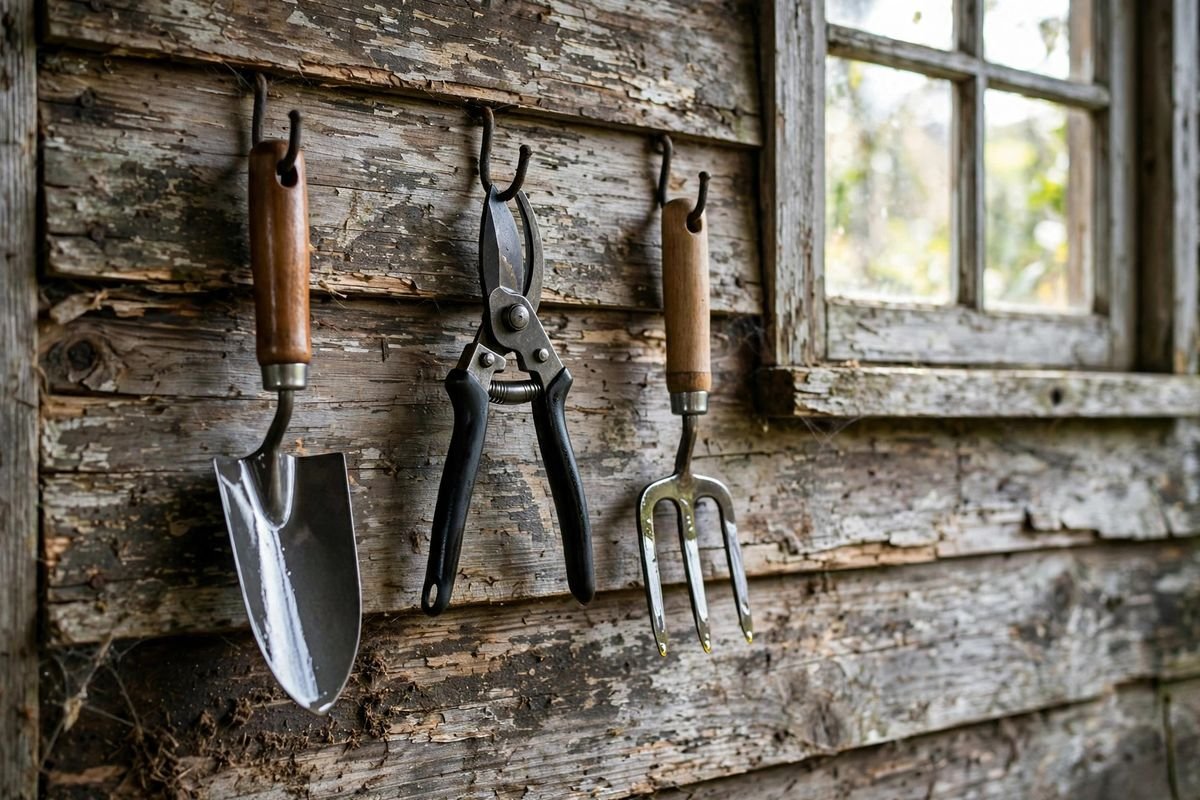
A quick end-of-session habit beats a big spring rescue project. Two minutes with a brush, a rag, and a drop of oil will save you a frustrating hour of rust removal later.
Troubleshooting Common Tool Problems
Blades Keep Sticking or Gumming Up
Sap and residue build up in the pivot, making pruners feel stiff. Wash the joint thoroughly, work the handles open and closed under soapy water, dry well, then add a drop of oil at the hinge. If stiffness remains, check for a bent blade or loose center bolt.
Rust Comes Back Right After Cleaning
This usually means the tool went into storage while still damp, or it was cleaned but not oiled. Bare metal needs that thin oil film as a barrier. Dry fully, oil, and store with airflow instead of in a sealed tub.
Handles Feel Rough or Start to Split
Dry wood shrinks and can crack. Sand rough spots smooth, then rub in a light coat of boiled linseed oil and let it absorb. Repeat once or twice a season for handles that live outdoors.
Frequently Asked Questions
How often should we disinfect garden tools?
Disinfect whenever you’ve cut diseased material, and between plants when you’re removing sick growth. For routine work on healthy plants, a thorough wash, dry, and oil at the end of the session is a sensible standard.
Can we use the same rag for washing and oiling?
It’s better to keep them separate. A wash rag picks up soil and sap, while your oiling rag should stay fairly clean so it spreads a thin, even film instead of dragging grit across the blade.
Is bleach the only option for disinfecting?
No. Standard extension guidance also mentions rubbing alcohol and household disinfectant sprays as workable choices. Each has trade-offs in cost, convenience, and how hard it is on metal, so pick the one you’ll use consistently and follow its label directions.
Sources & Further Reading
- University extension gardening guidance on disinfecting pruning tools between cuts on diseased plants
- State university cooperative extension publications on tool cleaning, rust prevention, and oiling wood handles
- USDA-affiliated extension resources on preventing the spread of plant diseases through contaminated tools
Clean tools cut better, last longer, and don’t carry trouble from one plant to the next. Build the wash, dry, and oil habit into the end of every session, and save disinfection for the moments that truly call for it.