
This post may contain affiliate links. If you buy through links on this page, we may earn a commission at no extra cost to you.
As an Amazon Associate I earn from qualifying purchases.
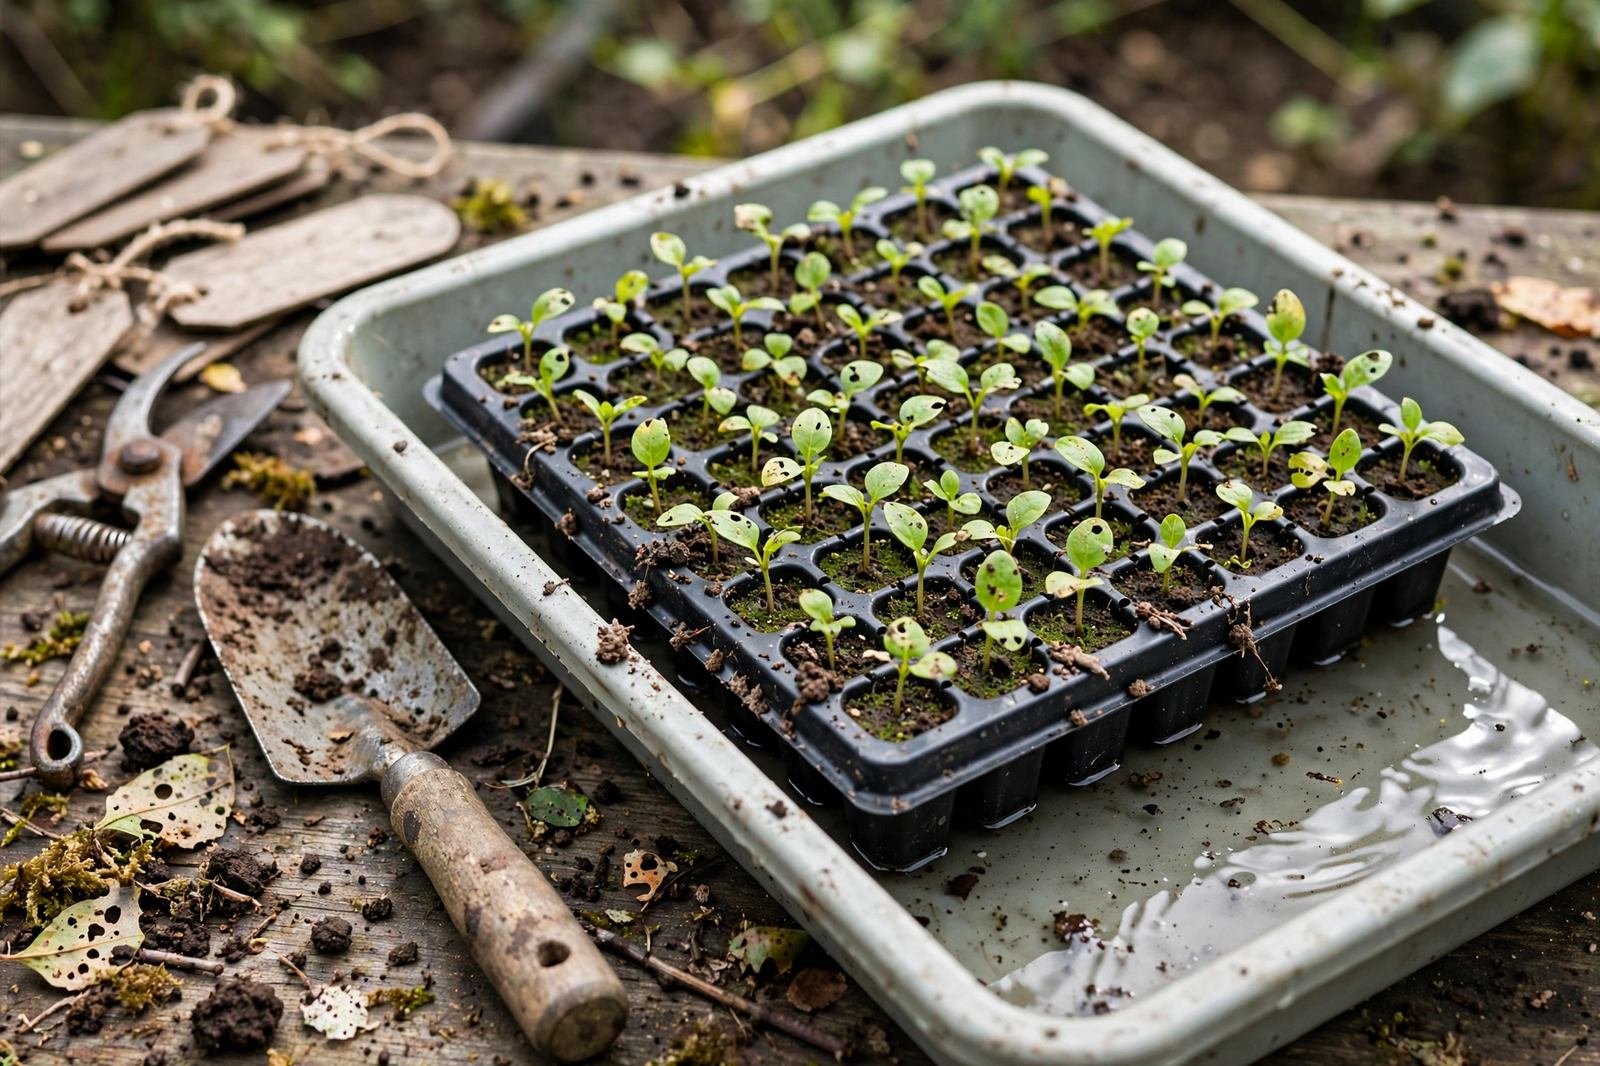
Seedlings need steady moisture, yet water poured from above knocks soil out of cells, leaves dry pockets, and keeps the surface wet where fungus gnats thrive. Bottom watering fixes that pattern. We set a seed tray inside a solid outer tray, add water below, and let the mix pull moisture up through the drainage holes. The surface stays drier, roots grow down toward the water, and we spend less time spot-watering single cells.
This guide compares tray types by depth, fit, material, and cleanup, not by brand claims. We have not run hands-on trials on the trays linked here, and listings change often. Check the listing for dimensions, hole pattern, and pack count before ordering. Our contribution is capacity math for a standard 1020, so we can plan refills with clear assumptions.
| Tray Type | Depth Pattern | Best Fit | Strengths | Tradeoffs |
|---|---|---|---|---|
| Solid 1020 tray, no holes (shallow) | Shallow, often 1 to 1.25 in.; check listing | Standard 1020 trays, cell packs | Available, stacks well, enough for daily use | Overflows fast; thin plastic can crack |
| Deep solid 1020 tray | Deeper, often 2 to 2.5 in.; check listing | Larger seedlings, longer gaps | More reserve, fewer refills | Heavy when full; can stay too wet |
| Mesh tray inside a solid tray | Mesh drains freely | Lift-out checks, air flow | Easy to lift flat clear | Needs solid outer tray; can flex |
| Dome plus solid tray set | Shallow base, tall dome | Germination, small batches | Slows evaporation early | Dome must come off after sprouting |
We use depth, footprint, and plastic thickness as a first filter, then confirm inside dimensions match our seed trays. A tray that looks deep in a photo may hold much less once a seed tray sits inside and displaces water.
How Bottom Watering Works
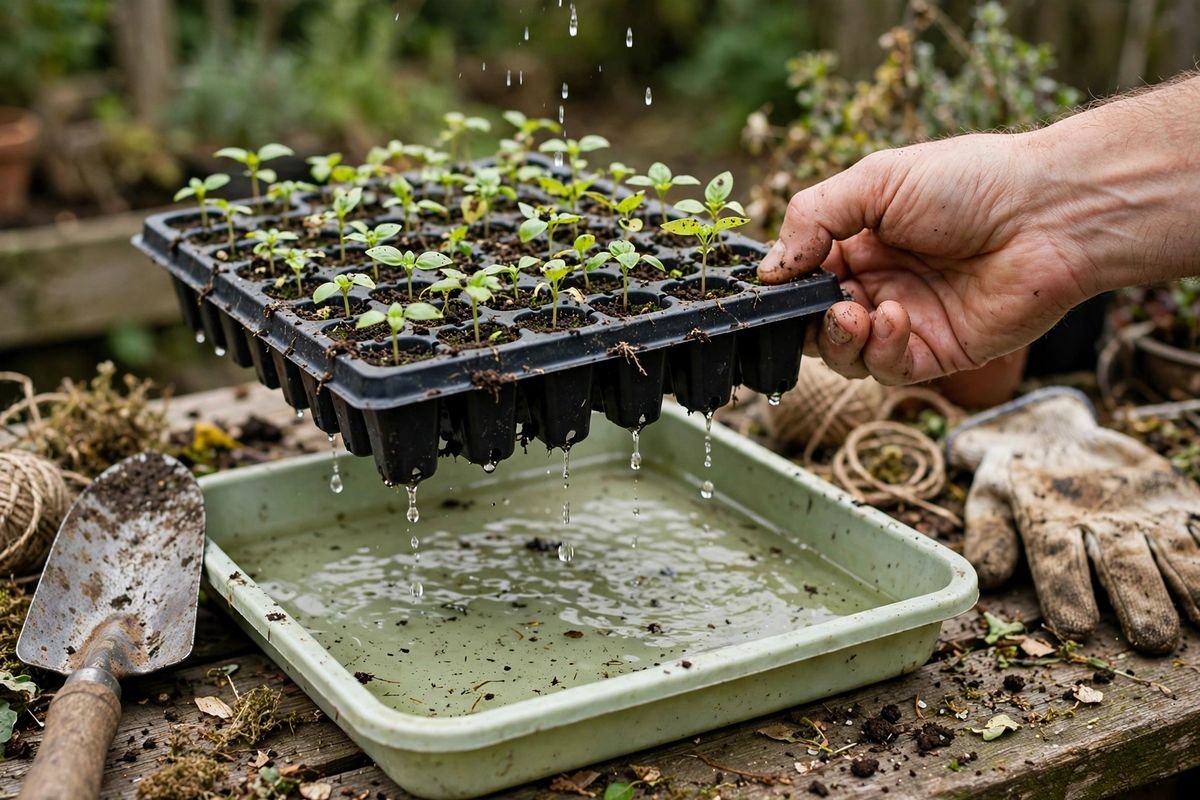
The inner layer is the seed tray with drainage holes. The outer layer is the solid tray that holds water. Capillary action pulls water up into the mix. Peat and coir wick well when evenly damp, so we water from the top once at sowing to prime cells, then switch to bottom fills. Our walkthrough in how to bottom water seedlings covers fill depth and timing for a first setup.
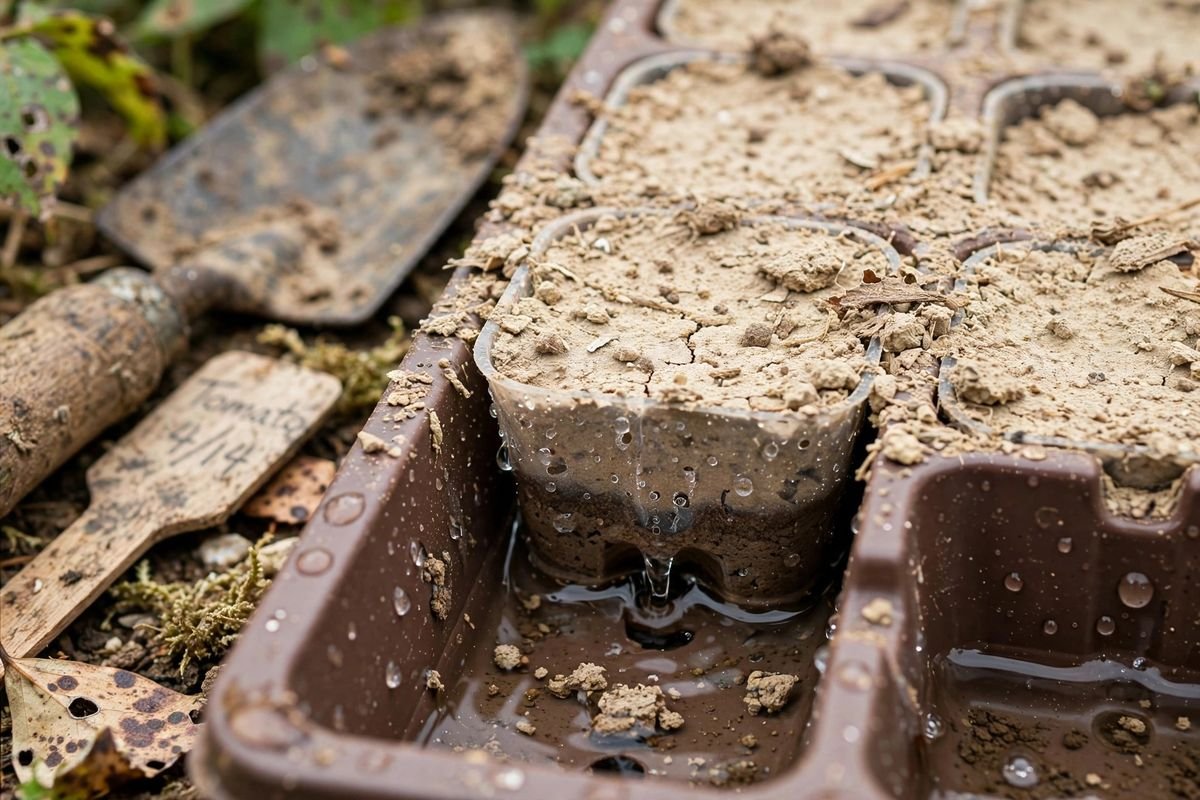
Standing water is a tool, not a home. After the mix darkens and the surface feels just damp, we pour off the extra so roots are not sitting in a swamp overnight. A short soak followed by a drain keeps oxygen moving and discourages film in a tray left full for days.
Our Tray Capacity Math: How Much Water Does a 1020 Hold?
Assumptions. Inside footprint roughly 10 inches by 20 inches. Fill depth 1 inch, enough to reach drainage holes without flooding cell tops. The tray counts as a simple rectangle for the first pass, then we adjust down for taper and displacement. One gallon equals 231 cubic inches.
The math. 10 × 20 × 1 = 200 cubic inches. 200 ÷ 231 ≈ 0.87 gallon, about 3.5 quarts or 14 cups. At a half-inch fill, about 0.43 gallon, roughly 7 cups. With a seed tray nested inside, free water drops by a quarter or more. Our planning figure is about 2 to 2.5 quarts of free water at a 1-inch fill.
How we use the result. A flat of young seedlings in a warm, bright room may use a half-inch fill in a day or two, while just-sown trays under a dome use far less. A deep tray buys time because gross volume nearly doubles at 2 inches, even after displacement. The math also warns against overfilling: an extra half inch adds close to 7 cups that spill when we slide the shelf. We fill low, let the mix wick, and top up only when the outer tray runs dry. Weight helps too — a freshly watered flat feels much heavier, and that heft fades as the mix dries.
Choosing Depth: Shallow vs. Deep
Shallow Solid Trays for Daily Routines
Pros: light even when full, fits under most grow lights, easy to slide off a shelf. Cons: small reserve, frequent refills in warmth, thin versions crack when lifted by a corner. Choose shallow if we check seedlings daily. Browse 1020 seed trays with no holes on Amazon and check inside dimensions and thickness notes, since sellers use shallow and deep loosely.
Deep Trays for Longer Gaps
Pros: larger reserve covers a weekend with fewer refills and helps rewet a dry flat. Cons: heavy on a high shelf, and seedlings left standing can stay too wet. Choose deep if our room runs warm or our schedule leaves gaps. Compare deep 1020 trays for seed starting on Amazon, confirming depth in the details, not the photo alone.
Mesh Trays for Lift-Out Checks
A mesh tray holds no water alone. Set inside a solid tray, it lets us lift the whole flat clear to check roots, rinse the outer tray, or move seedlings without sliding wet cells. The open bottom improves air flow. The tradeoff is flex, so we support a loaded tray with both hands. Readers matching cell size to crop will find our guide to best seed starting trays useful before pairing a tray with its base.
Fit, Material, and Details That Matter
Footprint. A seed tray should sit flat inside the watering tray with a small gap for pouring and lifting. We measure the inside base of the outer tray, not the flared rim. Plastic thickness. Thin trays suit one season; thicker trays survive washing and stacking for years. Sunlight can make thin plastic brittle, so we store spares out of direct sun. For a full setup bought at once, our review of best seed starting kits shows how trays, domes, and cells are bundled.
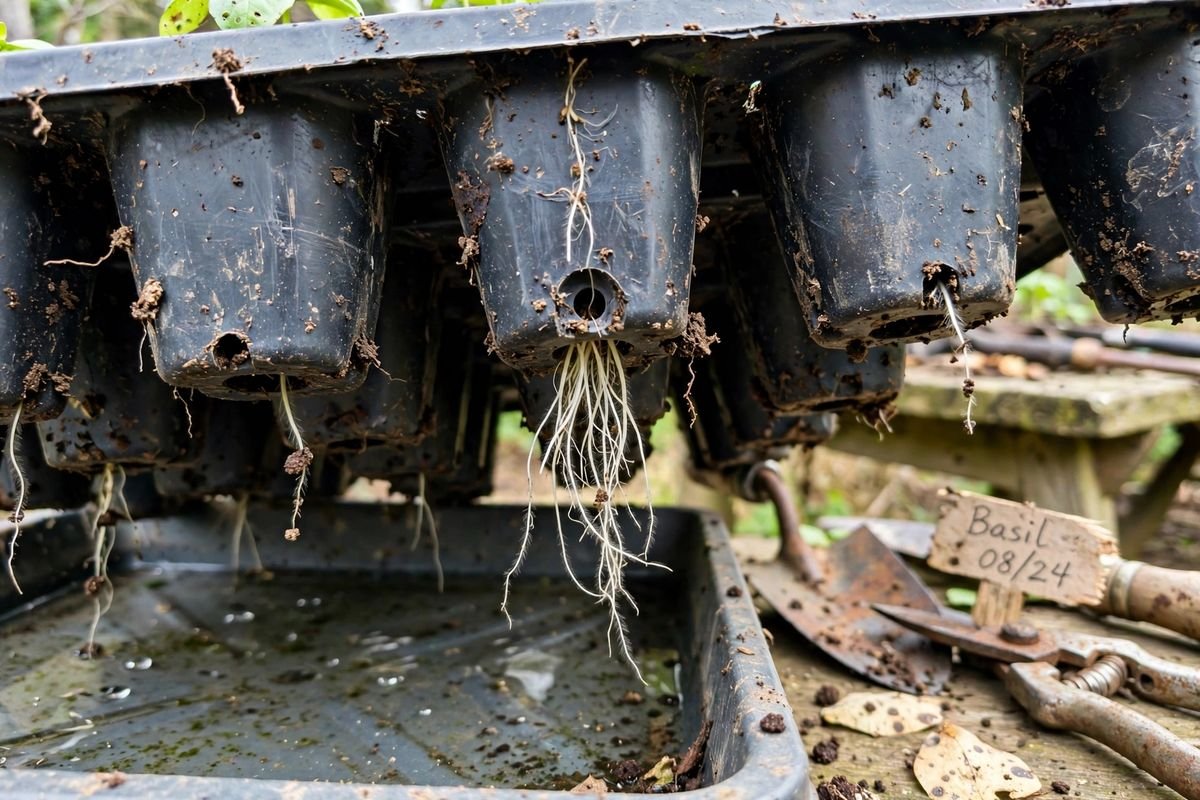
Overflow. Solid trays have no holes, so rain or an overfill has nowhere to go. Indoors that is manageable; outdoors a tray can fill in a storm, so we keep setups under cover and drain after each soak. When roots reach the drainage holes and circle in the water tray, seedlings likely need more room soon. Domes. A dome belongs to germination only. Once seeds sprout, we crack vents, then remove the dome during light hours so seedlings get air and stronger light.
A Simple Routine That Avoids Soggy Cells
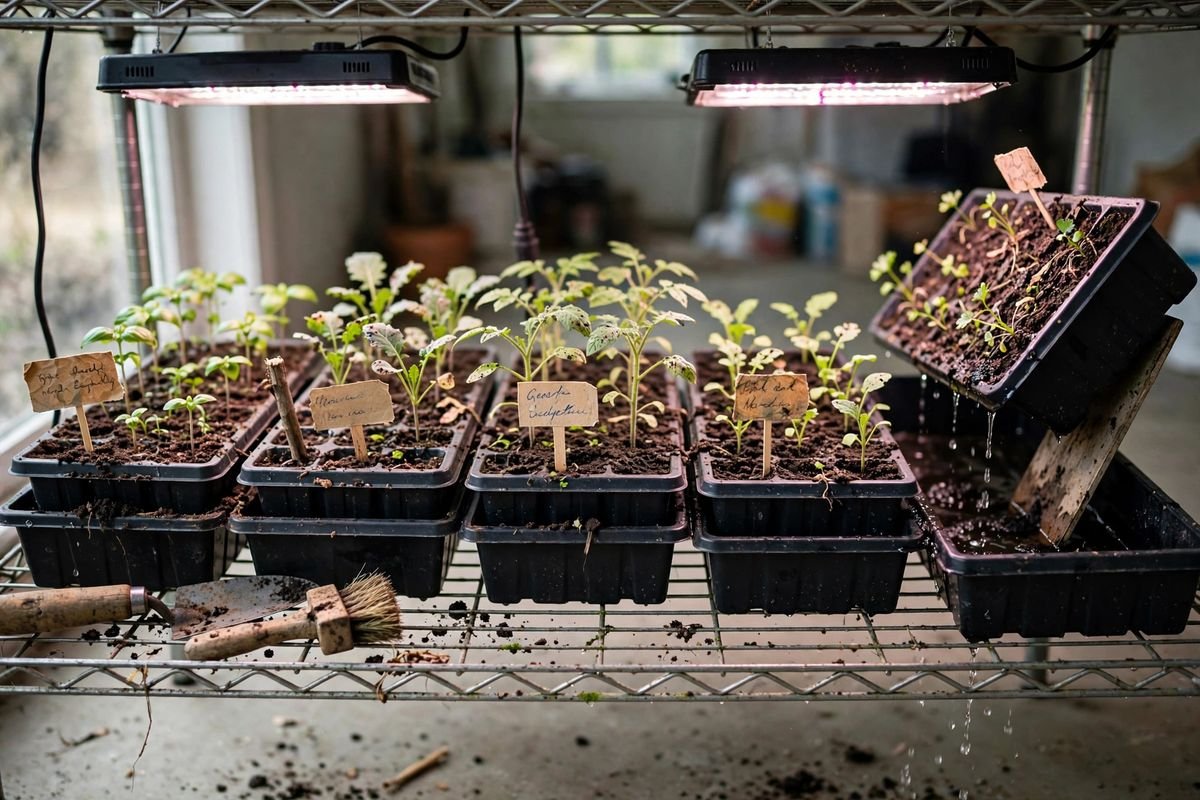
We start with mix damp through at sowing, since dry peat resists water. After sprouting, we set the seed tray into the dry solid tray, pour room-temperature water into a corner to a half inch or an inch, and wait 20 to 30 minutes. When the surface darkens, we lift the seed tray, pour the remainder into a watering can, and set the flat on a dry tray to drain.
Small seedlings may need a fill every few days; fast greens in warmth may need attention daily. We let the surface dry slightly between fills without letting mix pull away from cell walls. As transplant nears, we shorten the soak so roots feel a gentle cycle before moving outdoors. Use your local frost dates and regional planting guidance — not your USDA hardiness zone alone — to choose planting dates. That timing guides when we start seeds indoors and when seedlings should harden off.
Cleaning and Storing Trays
Algae and salts build up fast because the tray holds runoff. At the end of a round, we wash trays with warm soapy water, scrub corners, rinse, and dry fully before stacking. Our routine in how to clean seed starting trays covers disinfection after diseased seedlings and when to retire a cracked tray. We stack dry trays out of sunlight and mark a cracked tray as a dry catch tray, since a slow leak damages a shelf more than a replacement costs. Readers who prefer a set that stores as one unit can compare seed starting trays with domes and bottom trays on Amazon.
Which Tray Should We Choose?
Choose a shallow solid 1020 tray if we check flats daily and want the lightest base for standard cell packs. Choose a deep solid tray if our room runs warm or our schedule needs a bigger reserve, and we commit to draining after each soak. Choose a mesh tray inside a solid tray if we lift flats often to inspect roots or move crops. Choose a dome set if we germinate in a drafty room and will vent and remove the dome after sprouting. When unsure, one shallow and one deep tray cover most home setups.
Common Problems and Plain Fixes
Surface stays dry while the tray holds water. The mix may resist wicking or holes may sit above the water line. We raise the fill slightly and water from the top once to restart flow. Algae turns water green. We drain after each soak and rinse the tray. Seedlings look pale and mix smells sour. The flat stayed saturated, so we drain, improve air flow, and let the surface dry more between fills. Tray cracks at the corner. We drain before moving a tray and support it from below.
FAQ
How deep should water be in a bottom-watering tray?
A half inch to an inch suits most cell packs. Water should touch drainage holes and wick upward without reaching cell tops. Drain deeper fills after the mix darkens.
How long do seedlings sit in water?
Twenty to thirty minutes covers most flats. Once the surface shows even dampness, we pour off the extra rather than leaving seedlings standing overnight.
Can we bottom water with fertilizer?
Yes, at the dilute strength the product label directs for seedlings, then drain as usual. We flush from the top with plain water every few waterings to limit salt buildup.
Do bottom-watering trays prevent fungus gnats?
They help by keeping the surface drier between waterings, but they do not solve an existing infestation alone. Draining and slight surface dry-down work together.
Sources & Further Reading
- University of Minnesota Extension — starting seeds indoors: https://extension.umn.edu/planting-and-growing-guides/starting-seeds-indoors
- Colorado State University Extension — growing plants from seed: https://extension.colostate.edu/topic-areas/yard-garden/growing-plants-from-seed-7-409/
- University of California Agriculture and Natural Resources — seed starting: https://ucanr.edu/site/uc-master-gardeners/seed-starting
Keep Growing With These Guides
A solid tray, a level shelf, and the habit of draining after each soak will carry most home seed starting. Which corner of our setup stays wettest, and would a deep tray or a stricter drain routine fix it first?