
This post may contain affiliate links. If you buy through links on this page, we may earn a commission at no extra cost to you.
As an Amazon Associate I earn from qualifying purchases.
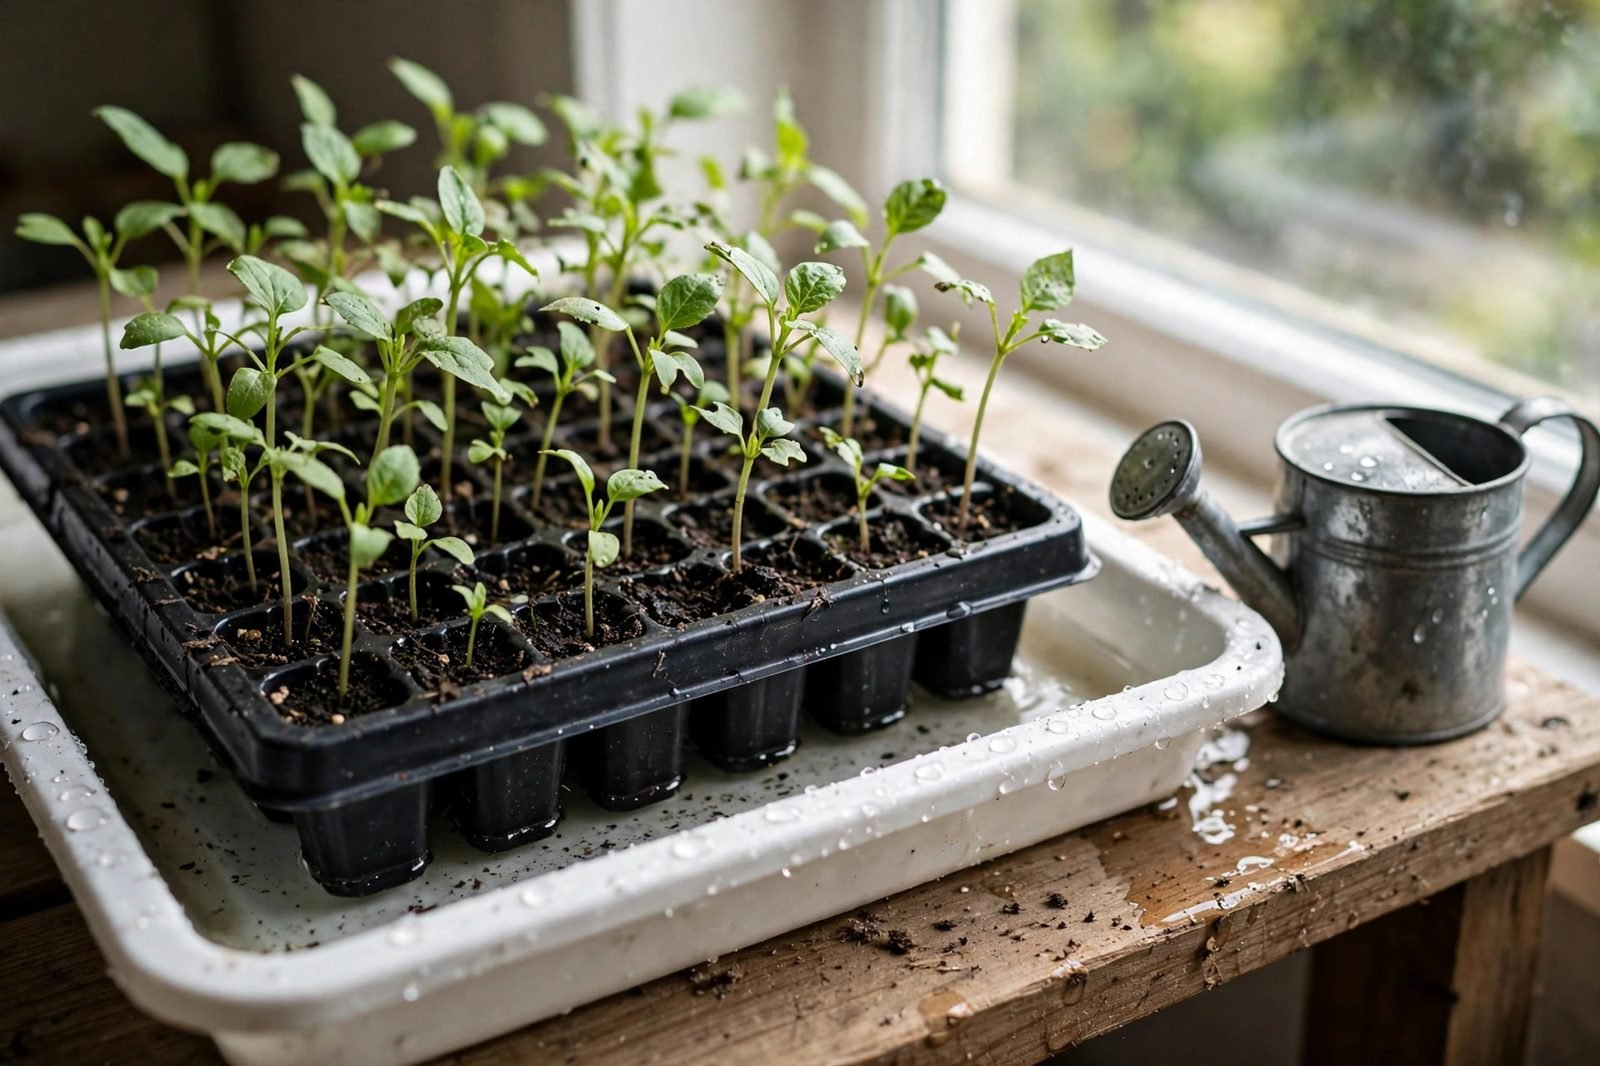
Most seedling problems beginners blame on “bad seeds” are really watering problems. A heavy pour from above compacts the soil surface, splashes mix onto leaves, and leaves stems sitting wet — an open invitation for damping-off, the fungal disease that fells seedlings at the soil line. Bottom watering flips the whole routine: instead of raining water down on fragile stems, you let the soil drink from below.
It’s a simple technique, it takes about fifteen minutes, and it works with the cell trays most gardeners already own. Here’s exactly how to do it.
Bottom Watering at a Glance
| What you need | A leak-proof tray (no holes), room-temperature water, and your planted cell tray |
|---|---|
| Time per session | 10–20 minutes of soaking, plus a minute to set up and drain |
| How often | When the top of the soil looks light-colored and dry — typically every 2–4 days indoors |
| Difficulty | Beginner-friendly |
| Best for | Seedlings in cell trays; small seeds; anyone who tends to overwater |
Why Water From Below?
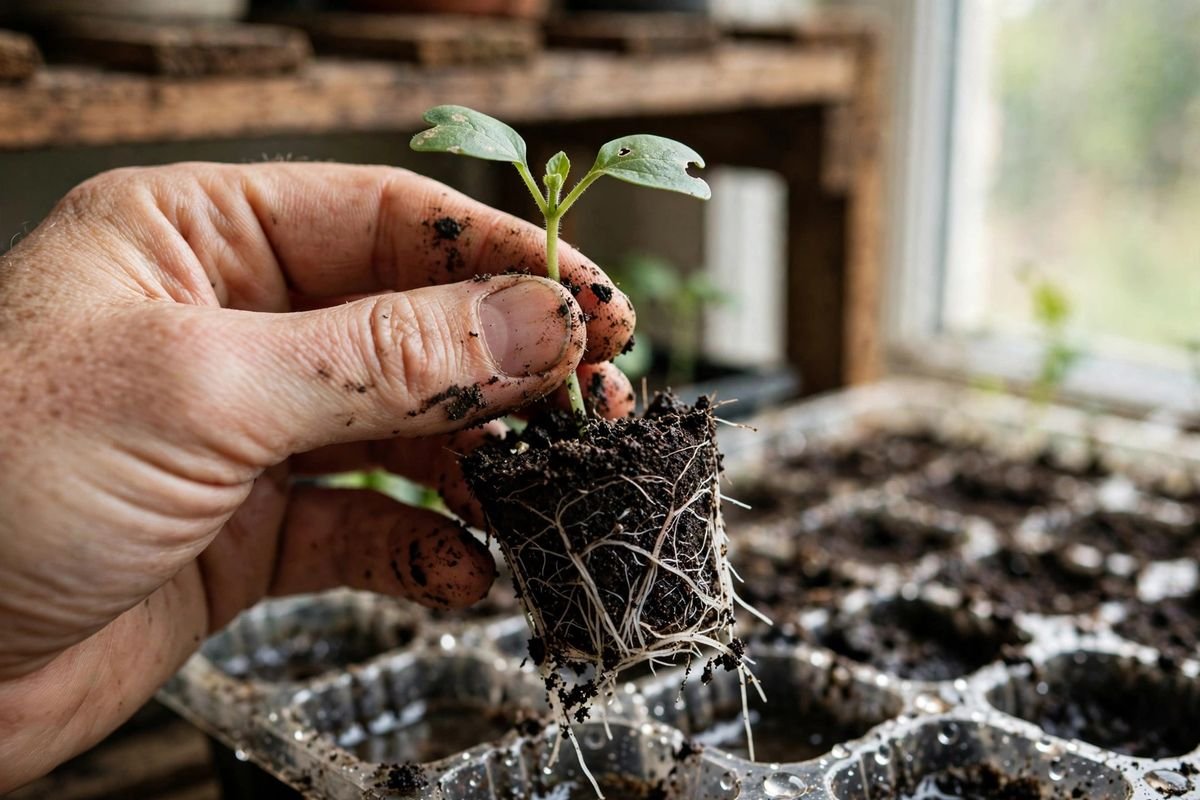
Seed-starting mix is designed to wick. When the bottom of a cell sits in shallow water, capillary action pulls moisture upward through the soil — evenly, gently, and without disturbing a single seed. The foliage stays dry, the soil surface never crusts over from a hard pour, and roots get the consistent moisture they need to grow downward.
It also removes the guesswork. With top watering, it’s easy to drown the top inch while the bottom stays dry, or vice versa. With bottom watering, you can see the soil surface darken as moisture climbs — a built-in progress bar. If you’re setting up your first indoor sowing station, our beginner’s vegetable garden guide covers trays, lights, and timing alongside watering.
What You’ll Need
You don’t need special gear — just a watertight tray. A leak-proof tray with no drainage holes (often sold as a “bottom tray” or “drip tray”) is the key piece; your planted cell tray nests right inside it. Room-temperature water is gentler than cold tap water on young roots. That’s the whole kit.
Step 1: Pour Water Into the Bottom Tray
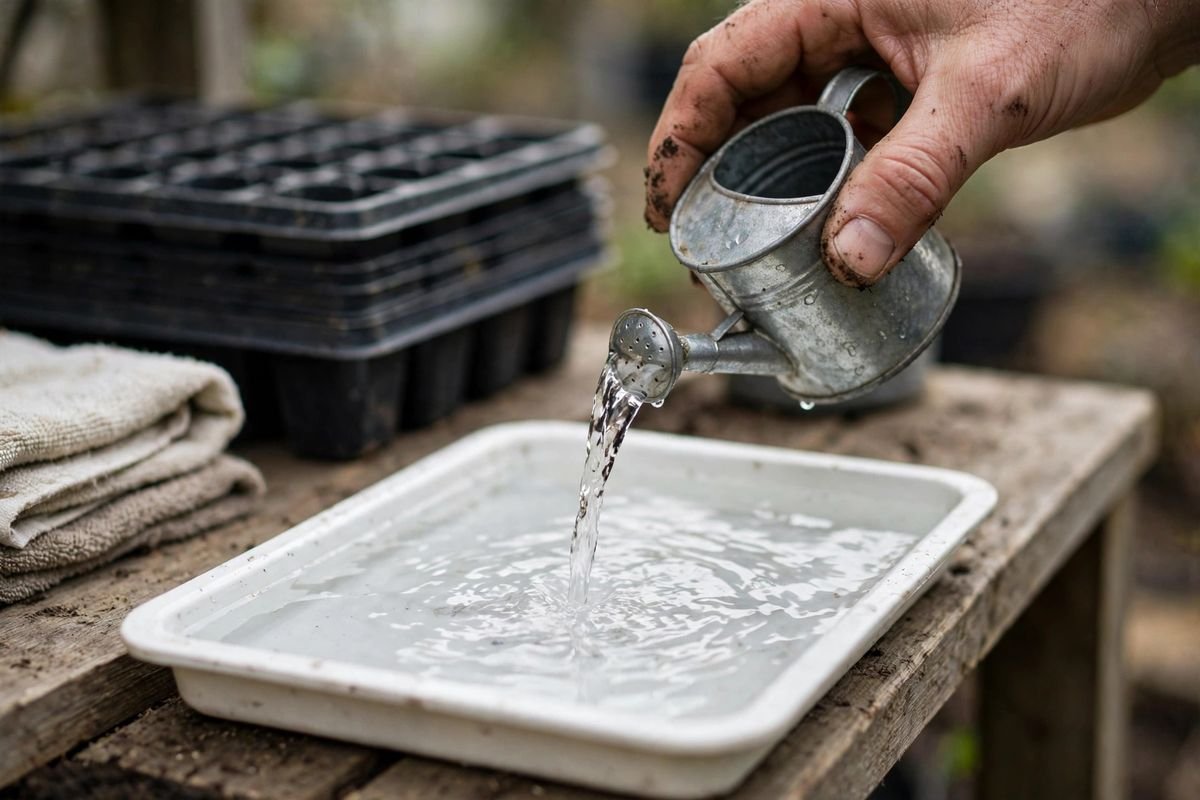
Set the empty leak-proof tray on a level surface and pour in about half an inch of water from a small watering can with a narrow spout — enough to cover the bottoms of the cells, not enough to float the tray. Room-temperature water works best; cold water can chill small root zones. No seedlings in the tray yet — you’re preparing the bath first.
Step 2: Set the Cell Tray Into the Water
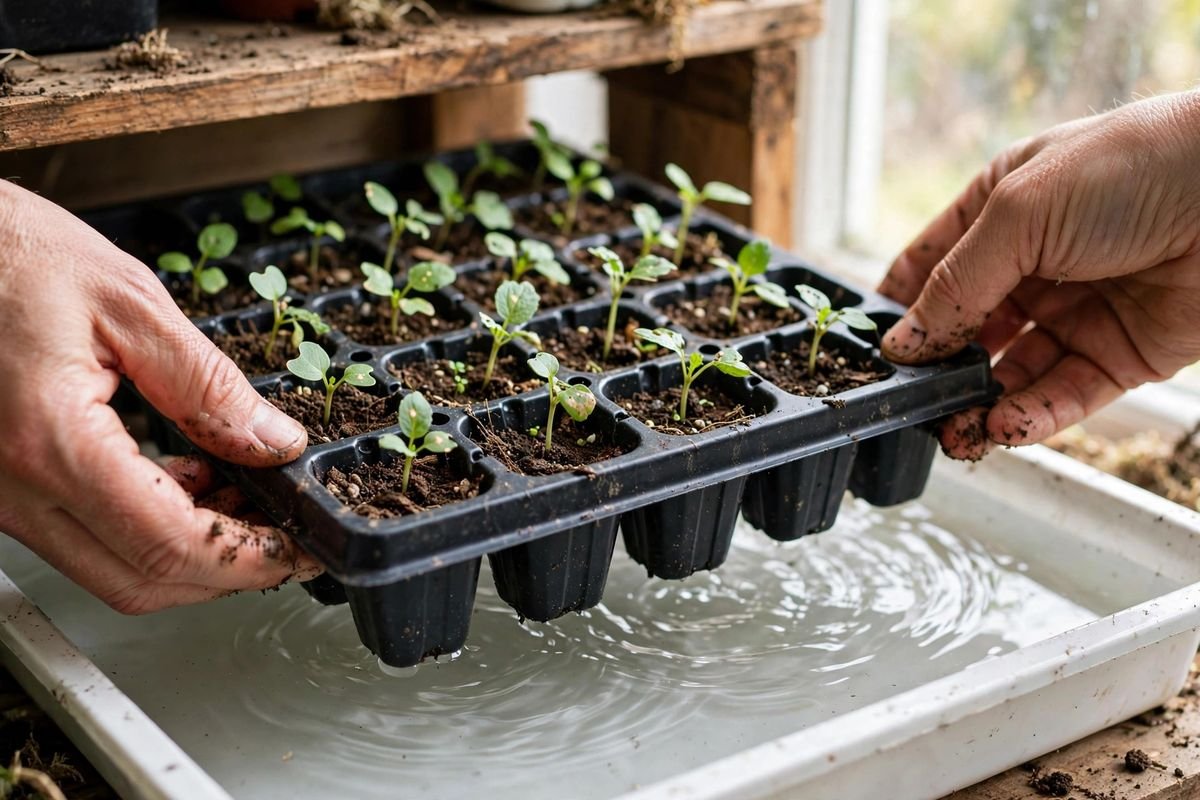
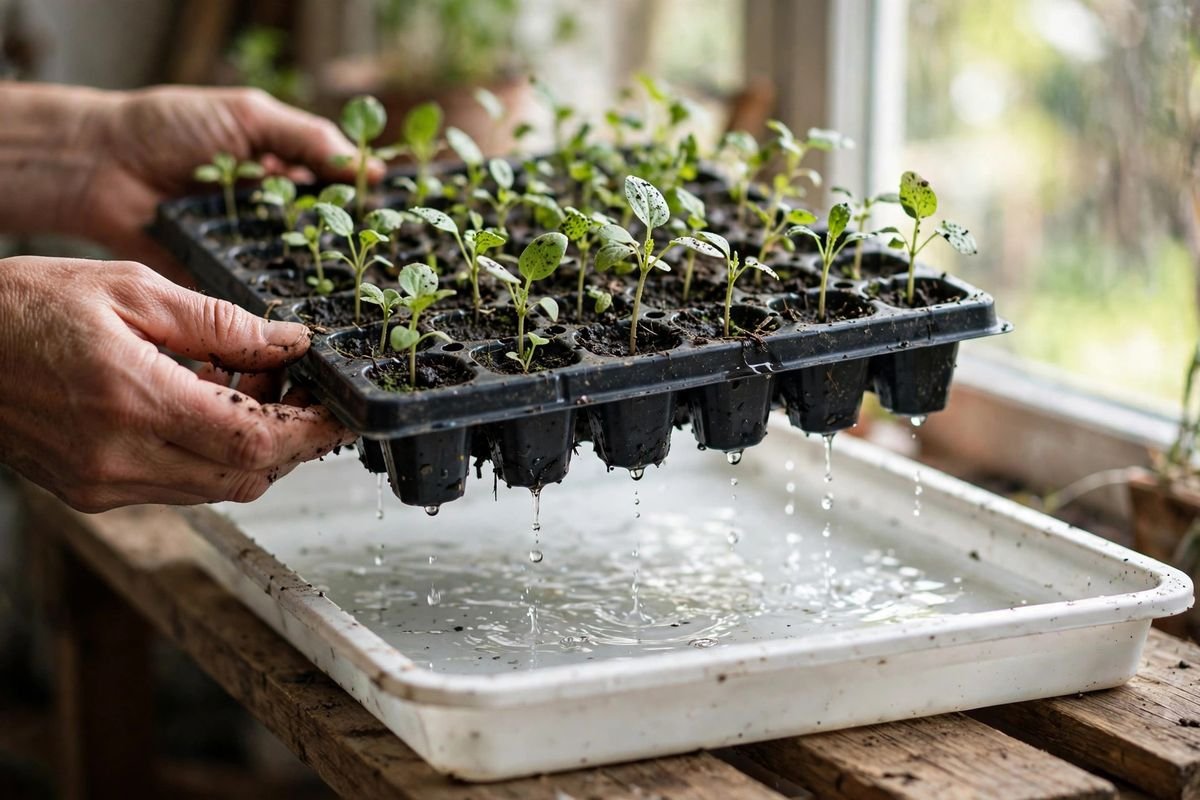
Lower your planted cell tray into the water tray. You’ll feel it settle as the cell bottoms touch the water — a few small ripples are normal. Make sure the tray sits level so every cell gets equal contact. If the tray floats or tips, you poured too much; tip a little water out.
Step 3: Wait and Watch the Soil Drink
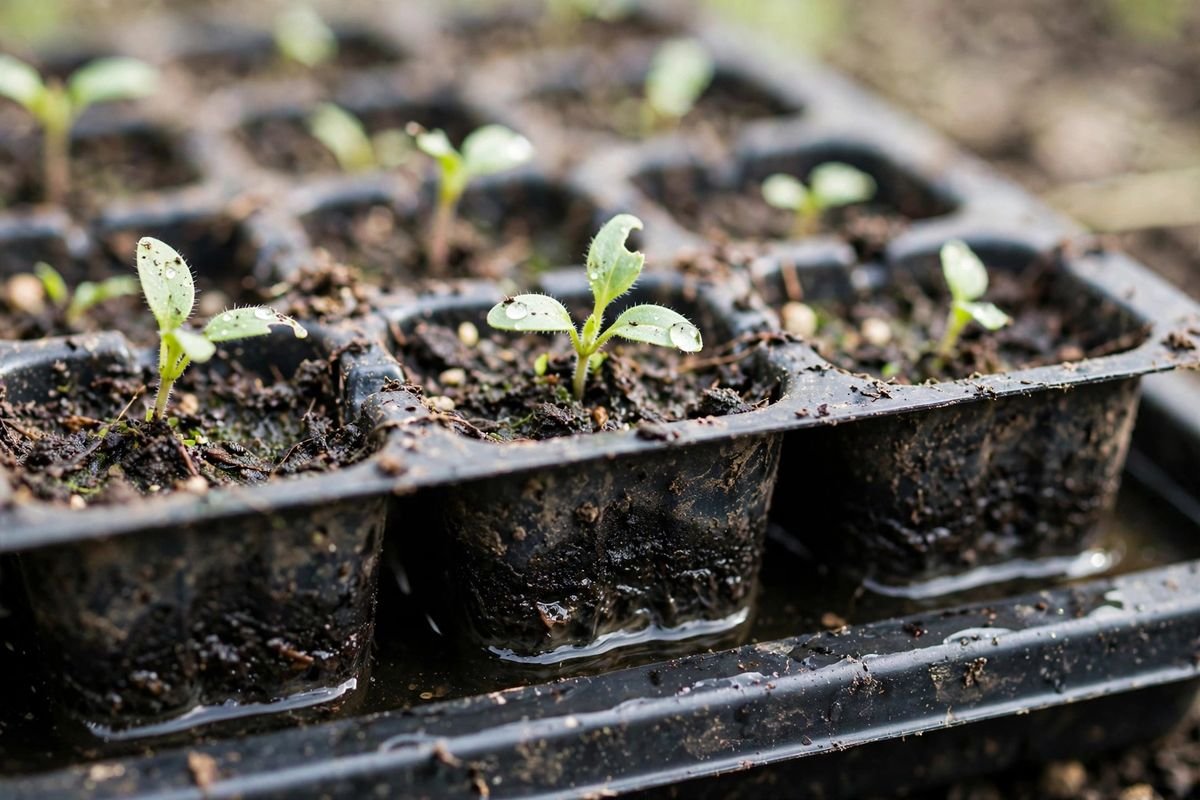
Now just wait — usually 10 to 20 minutes. Watch the soil surface in the cells: it will visibly darken as moisture wicks upward. That’s your signal the water is reaching the root zone. Smaller cells finish faster; big 4-inch pots take longer. Resist the urge to top-water “just to help” — the whole point is letting capillary action do the work evenly.
Step 4: Lift the Tray Out and Let It Drain
Once the surface looks evenly moist, lift the cell tray straight out and let excess water drip back for a minute. Then — and this is the step people skip — pour out any water left in the bottom tray. Seedlings should never sit in standing water between waterings; soggy bottoms invite root rot faster than almost anything else. Set the drained tray back under your lights.
Step 5: Check the Result
Done well, every cell should feel evenly moist but not waterlogged — press the surface lightly and it should feel like a wrung-out sponge. The seedlings stand upright, the foliage is dry, and the roots below just got a deep, even drink. That’s bottom watering at its best.
How Often Should You Bottom Water?
There’s no fixed schedule — check the soil, not the calendar. When the top of the mix looks pale and feels dry to the touch, it’s time. Indoors under lights, that’s typically every two to four days, but warm rooms and thirsty crops drink faster. Lettuce seedlings, for example, like steady moisture; our fall lettuce guide covers their watering needs in more detail.
One reliable check: lift the tray. You’ll quickly learn the feather-light feel of a dry tray versus the heft of a freshly watered one. When in doubt, wait a day — seedlings recover from slight dryness far more easily than from chronic sogginess.
Troubleshooting
Water is still sitting in the tray after an hour
Something’s blocking the wick. The usual culprit is compacted or hydrophobic mix — peat-based mixes can actually repel water if they dried out completely. Next time, don’t let cells go bone-dry. For now, lift the tray out, discard the standing water, and give the surface a light mist so the mix can rehydrate gradually. In stubborn cases, a drop of mild liquid soap in the water helps it penetrate, but prevention (never fully drying out) beats rescue.
The soil surface still looks dry after 20 minutes
Either the water level is too low to reach the cell bottoms, or the mix is hydrophobic as above. Add a touch more water — the bottoms of the cells must actually touch it — and give it more time. Deep cells and large pots can take 30 minutes or more.
Green algae or white fuzz appeared on the soil
Algae means the surface stayed wet too long — usually from trays left sitting in water or from constant top-misting. White fuzz on the soil is typically harmless saprophytic mold feeding on organic matter, not a plant disease, but it’s a sign of excess moisture and poor air circulation. Let the surface dry between waterings, improve airflow with a small fan, and always remove the tray from the water bath when the soak is done.
You forgot and left the tray soaking overnight
It happens. Lift the tray out immediately, let it drain thoroughly, and don’t water again until the top of the soil dries out. One overnight soak rarely kills seedlings, but make it a habit and root rot will follow. Set a phone timer next time — fifteen minutes is easy to lose track of.
Seedlings are wilting even though you bottom water
Wilting with moist soil points away from water: check for damping-off (thinning, pinched stems at the soil line), cold drafts, or lights hung too far away causing weak, leggy growth. Bottom watering solves watering problems, not every problem. If you’re choosing what to start, our easiest vegetables for beginners are the most forgiving while you dial in your routine.
When to Start (and a Timing Note)
Bottom watering matters from the moment seeds sprout — but getting seeds started at the right time matters more. Most gardeners sow indoors six to eight weeks before their average last frost date. Use your local frost dates and regional planting guidance — not your USDA hardiness zone alone — to choose planting dates. A seed starting kit with a matched tray and dome takes some of the guesswork out of the setup.
FAQs
Should seeds that haven’t sprouted be bottom watered?
You can, but it’s unnecessary — and a humidity dome does more for germination than any watering method. Once sprouts appear, remove the dome and switch to bottom watering.
Do peat pots work with bottom watering?
Yes, and they wick beautifully — sometimes too well. Peat pots soak up water fast and dry out fast, so shorten the soak to about 10 minutes and check them a day earlier than plastic cells.
Should fertilizer be added to the water?
Not at first. Seed-starting mix carries seedlings for the first couple of weeks. Once true leaves appear, you can add diluted liquid fertilizer (about quarter-strength) to the bath every second watering — the roots take it up evenly.
Is misting the tops still necessary?
Generally no. Misting keeps foliage wet, which is exactly what bottom watering avoids. If the very surface dries while roots are moist, that’s fine — even good. Water again when the top inch dries, not the top millimeter.
More Seed-Starting Help
- Best Seed Starting Kits — matched trays, domes, and cells in one box
- How to Start a Vegetable Garden for Beginners — the full journey from seed to harvest
Have you tried bottom watering, or are you still team watering-can-from-above? Share your setup in the comments — and what you’re growing this season.