
This post may contain affiliate links. If you buy through links on this page, we may earn a commission at no extra cost to you.
As an Amazon Associate I earn from qualifying purchases.
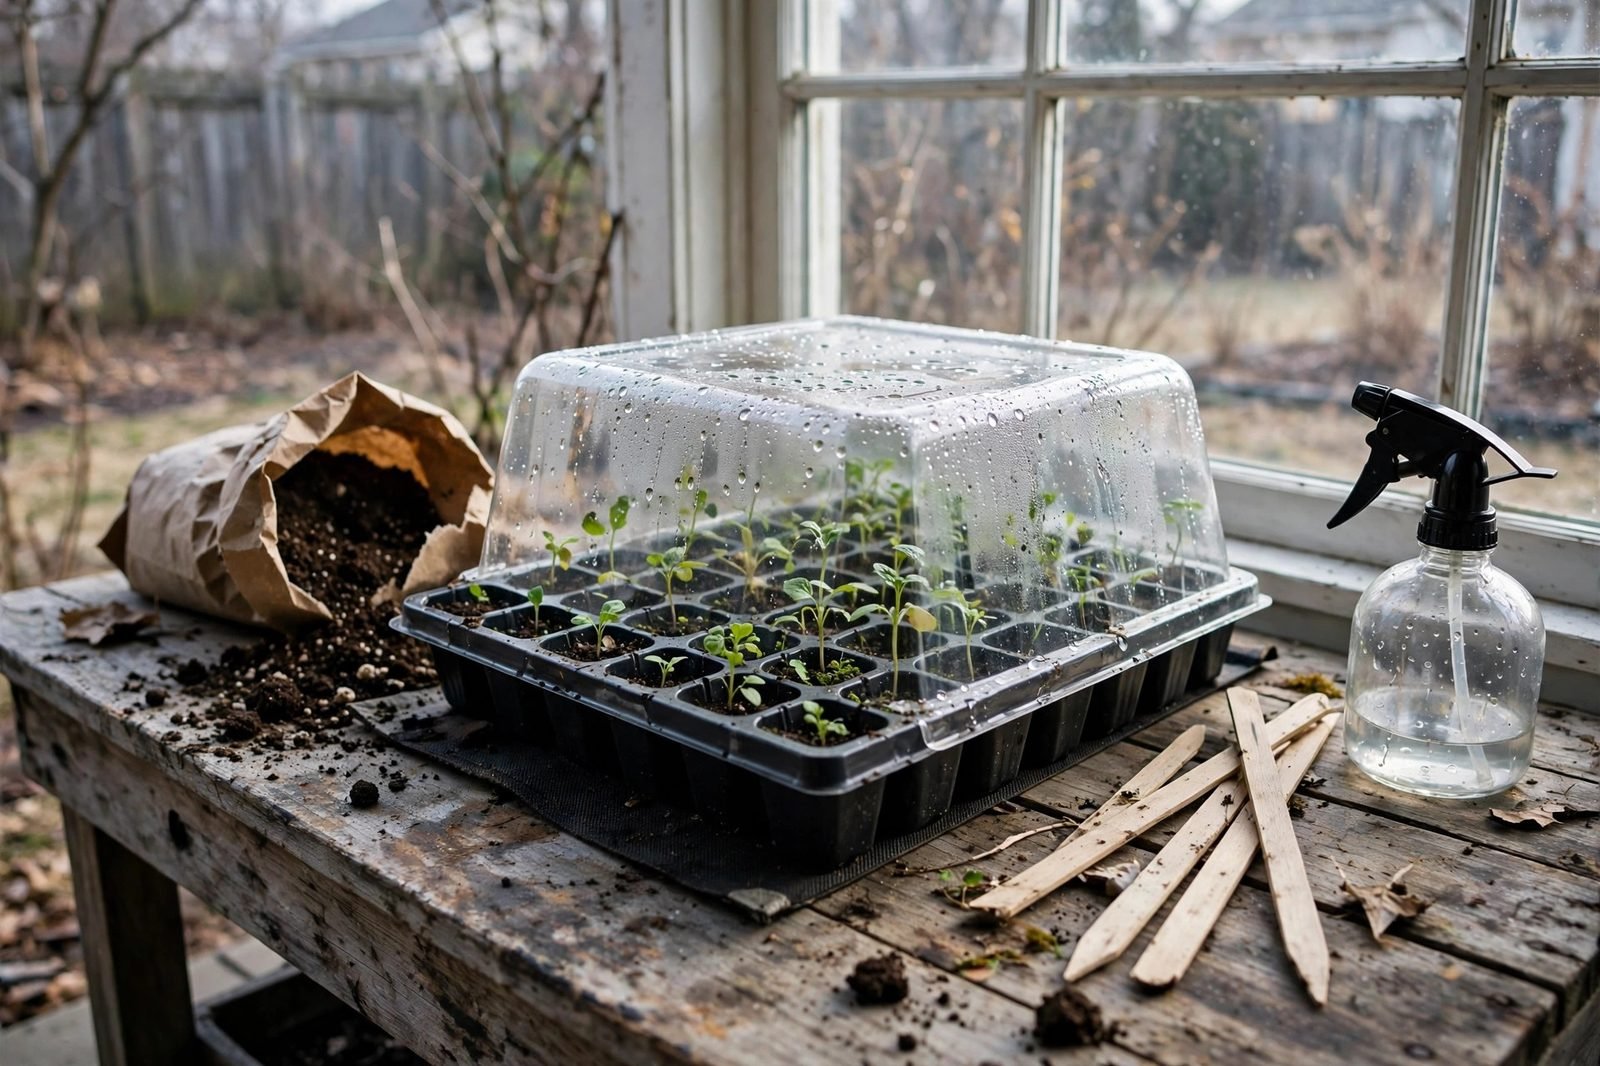
Starting seeds indoors has a short shopping list and a long jargon list. Trays, domes, pellets, heat mats, lights — walk into the season blind and it’s easy to buy three things you don’t need and skip the one you do. Seed starting kits exist to fix exactly that: one box with the pieces that belong together.
This guide is research-based — built from extension guidance, product specifications, and the patterns that show up again and again in gardener reviews. We didn’t lab-test kits side by side, and we won’t claim we did. What we can do is explain what each kit type includes, who it’s for, and where the money is actually well spent.
One timing rule before we start: use your local frost dates and regional planting guidance — not your USDA hardiness zone alone — to choose planting dates. A kit can’t fix seeds started six weeks too early.
What’s actually inside a seed starting kit
Kits vary, but most include some combination of these parts. Knowing the vocabulary makes every product listing easier to read:
| Component | What it does | Included in most kits? |
|---|---|---|
| Cell tray / insert | Holds individual seedlings in their own cells | Yes |
| Base tray (no holes) | Catches water; enables bottom watering | Yes |
| Humidity dome | Clear cover that holds moisture in during germination | Yes |
| Peat or coir pellets | Compressed soil discs that expand with water | Often |
| Plant labels | So you remember what’s what in three weeks | Often |
| Seedling heat mat | Warms the root zone for faster germination | Mid-tier and up |
| Grow light | Replaces a dim windowsill with real, consistent light | Premium kits only |
The three kit tiers (and who each one fits)
Basic kits: tray + dome + pellets
The classic beginner bundle: a 1020-style tray, a clear dome, and a bag of peat or coir pellets. You add water, the pellets swell into planting cells, and you sow. This tier suits first-timers who want the simplest possible path from box to seedlings — no mixing soil, no extra shopping.
The main limitation is the pellets themselves: each one holds a small volume of soil, so seedlings outgrow them fast. Plan to pot up or transplant within a few weeks of germination. If that timeline suits your planting dates, basic kits are the cheapest way to start.
Browse basic seed starting kits on Amazon
Mid-tier kits: add a heat mat (and sometimes lights)
The next step up adds a seedling heat mat — and sometimes a thermostat or a simple LED light. This is the tier where germination of warm-season crops changes noticeably. Tomatoes, peppers, and eggplants all germinate best with warm soil (the University of Wisconsin’s germination table puts the optimum at 85°F for both tomatoes and peppers), and a mat delivers that warmth even in a cool room.
This tier fits gardeners who are serious about warm-season vegetables and tired of waiting three weeks for peppers to emerge. A thermostat is worth having if it’s an option — it keeps the mat from overshooting on warm afternoons.
Browse seed starting kits with heat mats on Amazon
Complete stations: kit + light
Premium kits bundle everything above with a grow light on a stand or a shelving setup. Light is the piece most beginners underestimate: a sunny windowsill feels bright to human eyes but is often far too dim for seedlings, which respond by stretching tall and floppy. If you have no good window and no spare shop light, a complete station removes the guesswork.
The trade-off is price and space. These kits cost several times what a basic bundle does and want a permanent corner of a room for six to eight weeks. Worth it if you’re starting hundreds of plants or have truly dark rooms; overkill if you just want a tray of basil.
Browse complete seed starting stations on Amazon
Heat mats: worth it for a beginner?
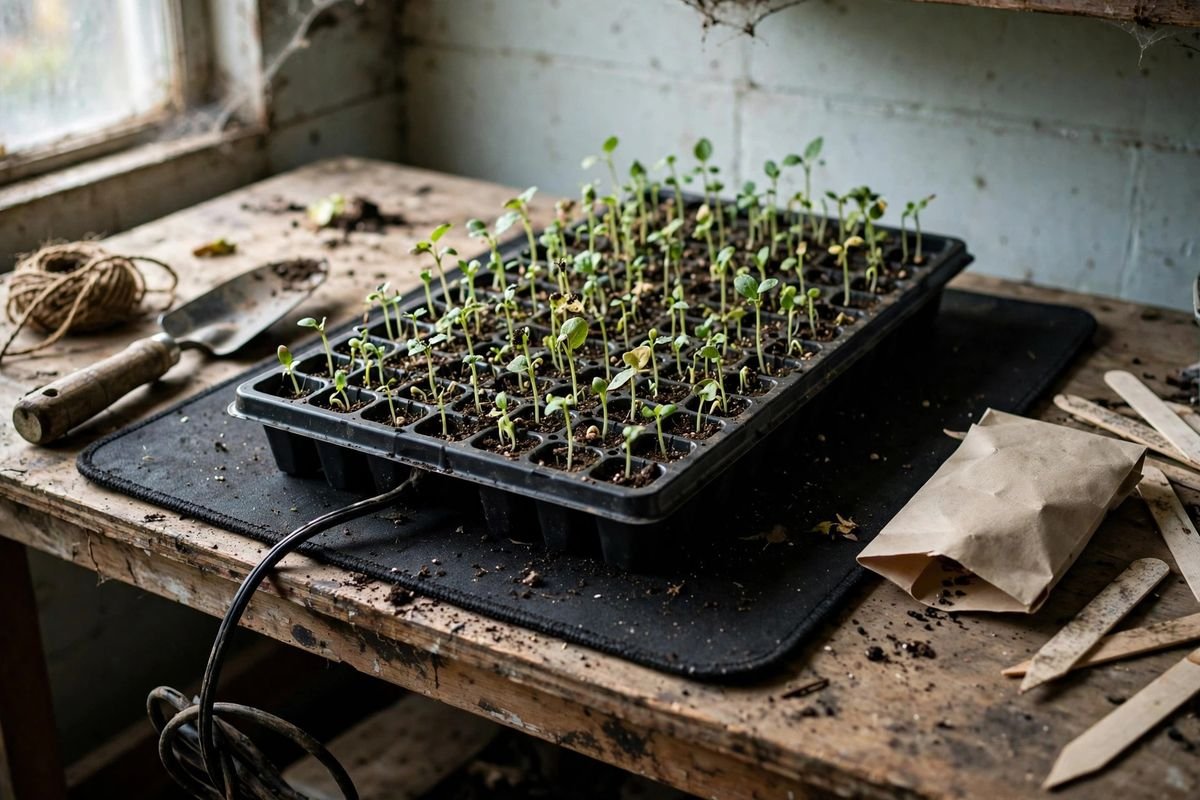
For cool-season crops like lettuce and spinach, a heat mat is unnecessary — they germinate fine at room temperature and actually dislike heat. For warm-season crops, it’s one of the highest-impact upgrades in seed starting. Mississippi State Extension’s seed-starting guide calls a thermostatically controlled mat a must for tomato, pepper, and eggplant seeds, recommending a thermostat set in the 78–80°F range.
Two practical notes: a mat warms the soil, not the air, so it does its best work under a dome where humidity stays high. And the mat’s job ends at germination — once seedlings are up, remove them from the heat (roots appreciate cooler conditions) and get them under light.
Browse seedling heat mats with thermostats on Amazon
Humidity domes: the one rule that matters
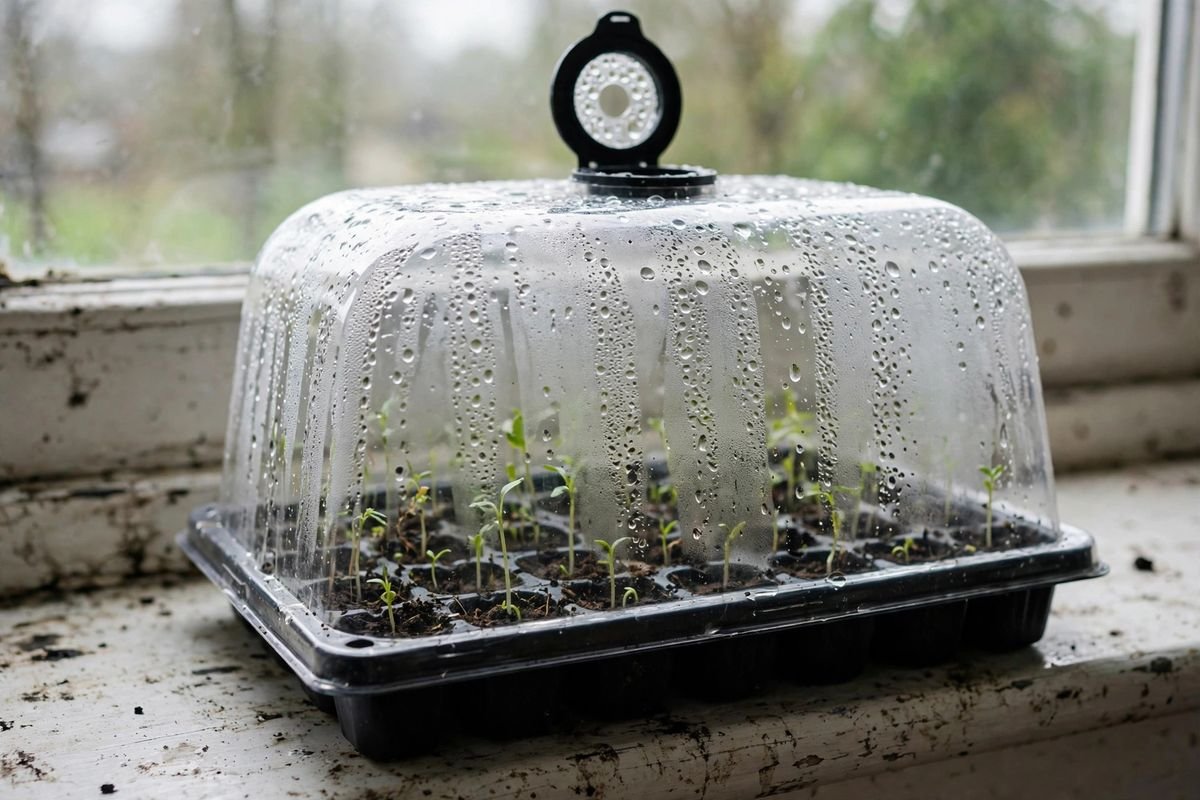
A humidity dome is just a clear plastic cover that traps moisture, keeping the seed-starting mix evenly damp while seeds germinate. Drying out mid-germination kills a seed — the dome is insurance against that.
The rule: remove the dome as soon as the seeds sprout. Seedlings in a sealed, dripping-wet dome are sitting in the exact conditions that cause damping-off, the fungal disease that pinches stems at the soil line and topples seedlings overnight. Every extension guide we checked repeats this point, and it’s the single most common dome mistake beginners make.
If your kit’s dome has adjustable vents, open them a little once germination starts and take the dome off entirely within a day or two of sprouting.
Peat pellets vs. cell trays: which kit type should you get?
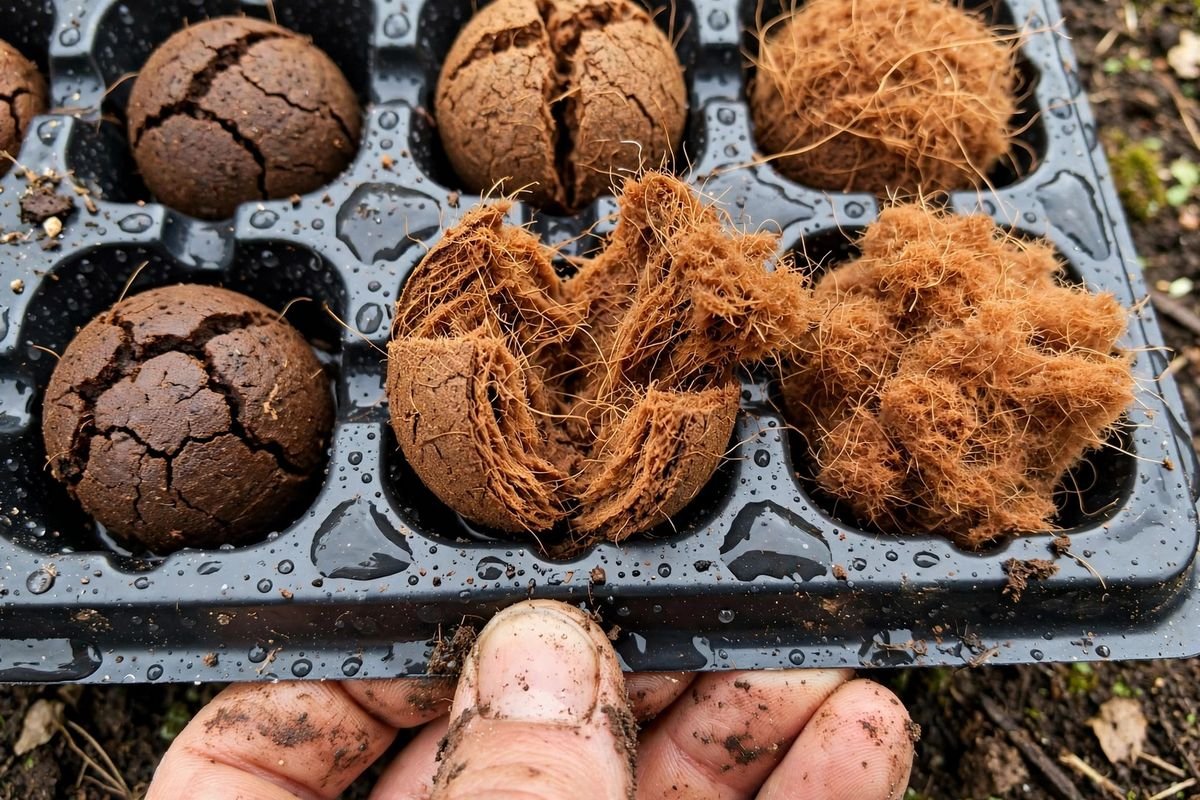
Pellet-based kits are the easiest to start: add warm water, wait for the discs to swell, sow. No soil mixing, no filling cells, minimal mess. They’re great for kids, classrooms, and anyone who wants gardening to feel effortless on day one.
Cell-tray kits (with loose seed-starting mix) take more setup but give seedlings a larger root zone and let you choose your own mix. For tomatoes, peppers, and anything that stays indoors more than three or four weeks, the extra soil volume matters. Our detailed comparison of seed starting trays breaks down cell sizes if you want to go deeper.
One pellet-specific tip from gardener feedback: some pellets are wrapped in a thin mesh net. Roots can struggle to push through it, so snip or peel the net off when you transplant. And whichever type you choose, feed seedlings lightly once true leaves appear — pellets and soilless mixes contain little nutrition.
Bottom watering beats overhead watering
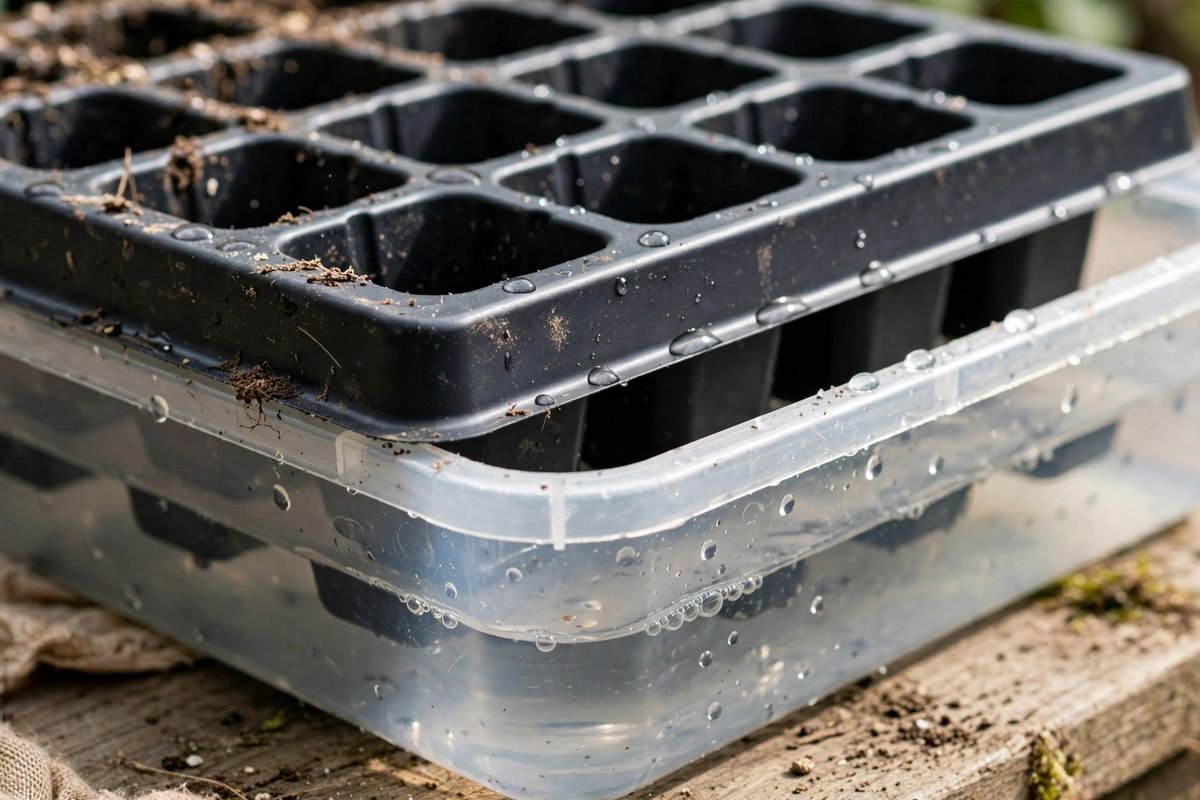
Most kits include a solid base tray, and it’s not just a drip catcher — it’s a watering tool. Pour water into the base tray and let the cells wick it up from below. The surface stays drier (less damping-off), tiny seeds don’t get blasted out of place, and the moisture distributes more evenly than a watering can manages.
The routine: add water to the base, wait 10–15 minutes, then pour off whatever hasn’t been absorbed. Standing water all day is just as bad as overhead watering. If your kit didn’t include a base tray, any shallow baking pan works.
Setting up your first kit, step by step
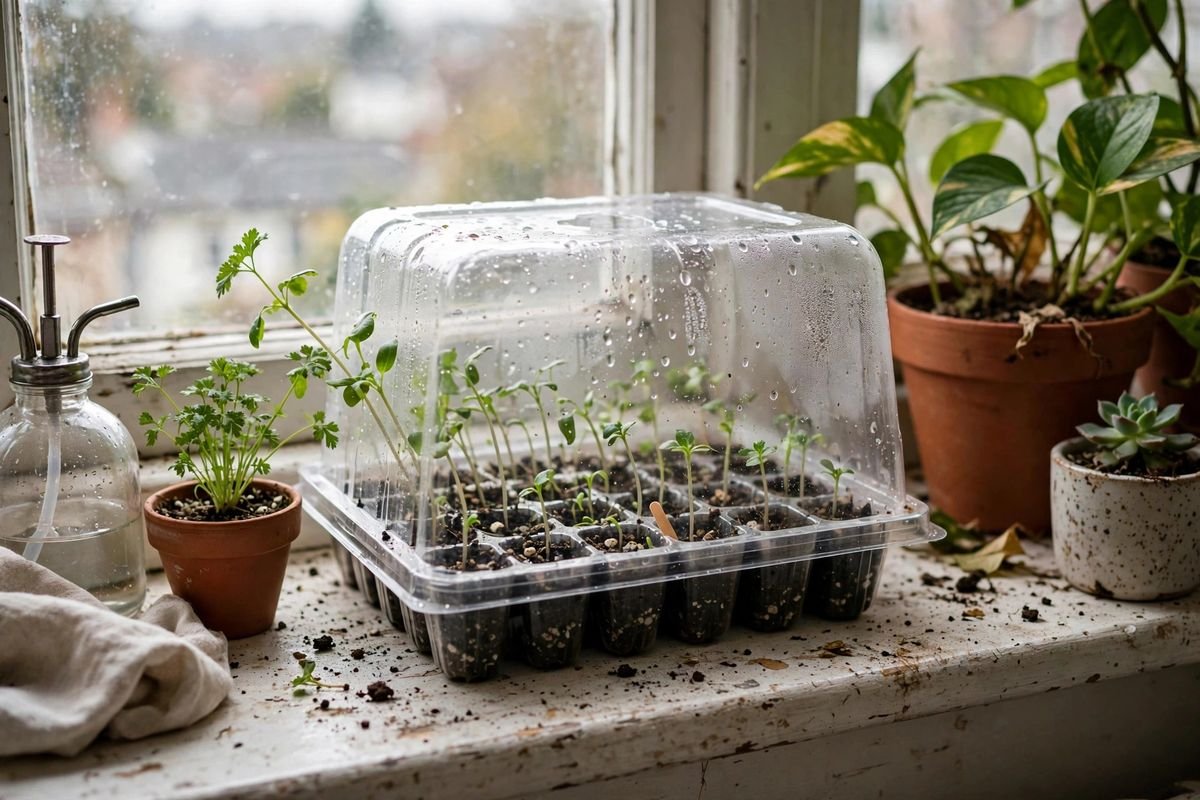
- Pick your spot. A table near an outlet (for the heat mat) and close to your eventual light source. Room temperature in the 65–75°F range is fine.
- Prepare the cells. Expand pellets with warm water, or fill cells with pre-moistened seed-starting mix. The mix should feel like a wrung-out sponge — damp, not dripping.
- Sow at the right depth. Follow the seed packet: roughly two to three times the seed’s diameter, or just pressed onto the surface for tiny seeds like lettuce.
- Dome on, mat on. Cover with the humidity dome and set the tray on the heat mat if you’re starting warm-season crops.
- Check daily. Look for sprouts and make sure nothing dried out. Most vegetable seeds germinate in 5–14 days at the right temperature.
- Dome off, lights on. The moment seedlings emerge, remove the dome, take the tray off the heat mat, and move it under a light — as close as a few inches above the seedlings, raised as they grow.
New to growing food from seed? Our beginner’s guide to starting a vegetable garden puts seed starting in the context of a full first season, and the easiest vegetables for beginners list steers you toward forgiving first crops.
Beginner mistakes worth avoiding
Starting everything at the same time
Seed packets list “weeks before last frost” for a reason — peppers and tomatoes start 6–8 weeks out, while cucumbers and squash need only 3–4. Sow everything in one weekend and half your seedlings will be leggy giants by transplant day. Stagger your sowing dates.
Too little light
The number-one cause of leggy seedlings is dim light, and windowsills are dimmer than they look. If stems stretch tall with big gaps between leaves, the light is too far or too weak. A basic shop light or LED grow light a few inches above the seedlings fixes it.
Leaving the dome on too long
Once seedlings emerge, trapped humidity invites damping-off. Dome off, gentle air moving (a small fan on low works), and the problem mostly disappears.
Overwatering out of love
Soggy mix rots seeds before they sprout and weakens stems after. Keep the mix like a wrung-out sponge, bottom-water, and let the surface dry slightly between waterings.
Skipping the hardening-off step
Indoor seedlings need a gradual introduction to sun, wind, and temperature swings — typically 7–10 days of increasing outdoor time before transplanting. Seedlings moved straight from a windowsill to full sun often scorch or stall.
FAQs about seed starting kits
Do I need a grow light if I have a sunny window?
Often, yes — especially for stocky seedlings. South-facing windowsills can work for a small number of plants, but most indoor light is weaker than it feels. If your seedlings stretch tall and pale, they need more light than the window provides.
How long do seedlings stay in the kit?
Until they’re sturdy and the weather cooperates — typically 4–8 weeks depending on the crop. A good sign: roots filling the cell (but not circling heavily) and several sets of true leaves. Don’t rush; a small healthy transplant beats a big stressed one.
Can I reuse the kit next year?
The tray, dome, and base tray — yes, after washing and sanitizing. Pellets are single-use. Heat mats last many seasons with normal care. Replacing just the pellets each year keeps the cost of round two very low.
What’s the cheapest way to start seeds indoors?
A basic tray-and-dome kit with pellets is the lowest-cost packaged option. The DIY alternative — saved containers with drainage holes, bagged seed-starting mix, and plastic wrap as a dome — can cost even less, though it’s fussier. Either way, light and timing matter more than the container.
More seed-starting posts to explore
- Best Seed Starting Trays for Home Gardeners — compare tray types in depth
- How to Grow Tomatoes from Seed
- How to Start a Vegetable Garden
- Easiest Vegetables to Grow for Beginners
Sources & Further Reading
- Mississippi State University Extension: tips for germinating seeds at home (heat mat settings, dome removal, damping-off)
- University of Wisconsin Extension: soil temperature minimums and optimums for vegetable seed germination
- Ohio State University Extension (BYGL): soil temperature as a planting guide
- Kansas State University Extension: measuring soil temperature for planting decisions
Are you starting seeds for the first time this year? Tell us in the comments what you’re growing — and which kit type you’re leaning toward.